Category Archives: recipes

12 May 2015 – International ME/CFS awareness day

ribbon_whiteback_large_sqI looked back at last year’s ME/CFS Awareness day post before starting this one.  I ended that post with the phrase  “Hopefully this time next year I will be talking about my ME in the past tense.”

I am lucky to have seen massive improvements in my health in the last year, and it’s amazing to look back at my posts from a year ago and realise that although I was improving I was still significantly affected by ME.  In February this year I wrote that I felt Recovered.  Since then I have had a few instances where I haven’t felt 100%, but generally life, and my health, is pretty good.

Life Now

I’m training for my summer cycle challenge to cycle the Coast to Coast route, and I’m increasing my physical activity levels all the time with no Post Exertional Malaise (PEM) in sight.  My 2014 May 12th post explains more about PEM and I’ve also written a PEM survival guide).  Last week I cycled over 30 miles for the first time. This week I plan to start adding more hills into my rides.

My day to day life is full. I spend a lot of time caring for my family and running our home.  I still don’t have a paying job, but my life is full of activity.  I take a regular pilates class, do yoga, go for walks and cycle rides, sing with a choir and I have been learning dressmaking, and of course I write this blog.

Weekends are busy, both with kids activities and socialising. We spent the Bank holiday weekend visiting family.  We took my 22 month old niece to a farm for the day, and we took my twin 5 year old nephews swimming.  In addition we stayed up late chatting with grown ups in the family.  Add in the travelling and less sleep than usual and I was pleased to feel fine on Tuesday.

I do still  sometimes feel a need to rest, but it’s not every day, or even most days.  I can confidently plan to meet people or do things in advance now without having to worry about cancelling due to my symptoms.

Others with ME/CFS

Mookpixie has written  this great post  which compares having ME to having a smartphone with poor battery life.  If you want to understand a bit more about what it’s like to have ME I highly recommend it.

I am one of the lucky ones.  Many people with ME/CFS never fully recover and some are severely affected.  I am in contact via facebook with the family of a young girl who when I first knew her was trying to start college.  Her ME didn’t allow her to attend college enough and she had to drop out.   Three years on her health has declined and she has been in hospital for the last several months, severely ill.  I hope that she will improve with time, but research is desperately needed so that we can help people like her.

I also follow the World of One Room on Facebook and have been saddened to read that after some recent improvements, including managing to leave her room, Jessica’s health has declined again, and she has also been very ill in hospital.  Jessica wants  people to spread her #smileforasmile campaign.  Here are the instructions.  It’s a lovely idea and I hope lots of people will join in with this simple activity.

‪#‎smileforasmile‬
1) take a smiling selfie or use an old picture
2) nominate two people or more to do it
3) say why you are or who you are doing it for
4) post your smile with the hashtag #smileforasmile

These are a few examples of the hundreds of thousands of people affected with ME in the UK. Everyone is affected differently, some with mild ME/CFS are able to work and socialise, but are still limited by their symptoms.  Others are housebound or bed bound and may be very isolated by their illness.

Fundraising

Today is about raising awareness of this terrible condition, but it is also a good opportunity to focus on raising money for ME charities.  This year my husband and I are both fundraising for ME charities.  I am doing my coast to coast cycle challenge, and raising money for Invest in ME.  My husband is  doing the C2C with me, but that’s not enough of a challenge for him.  Instead his fundraising is focussed on doing two triathlons in a weekend.  The triathlons involve a swim in a lake in Snowdonia, a cycle up a mountain pass (and down again) and a run up and down a disused quarry. After doing it once he then does it again the following day but twice as far.If you’d like to sponsor this mad endeavour go to his fundraising page.  He’s raising money for Action for ME and Alzheimers Research.
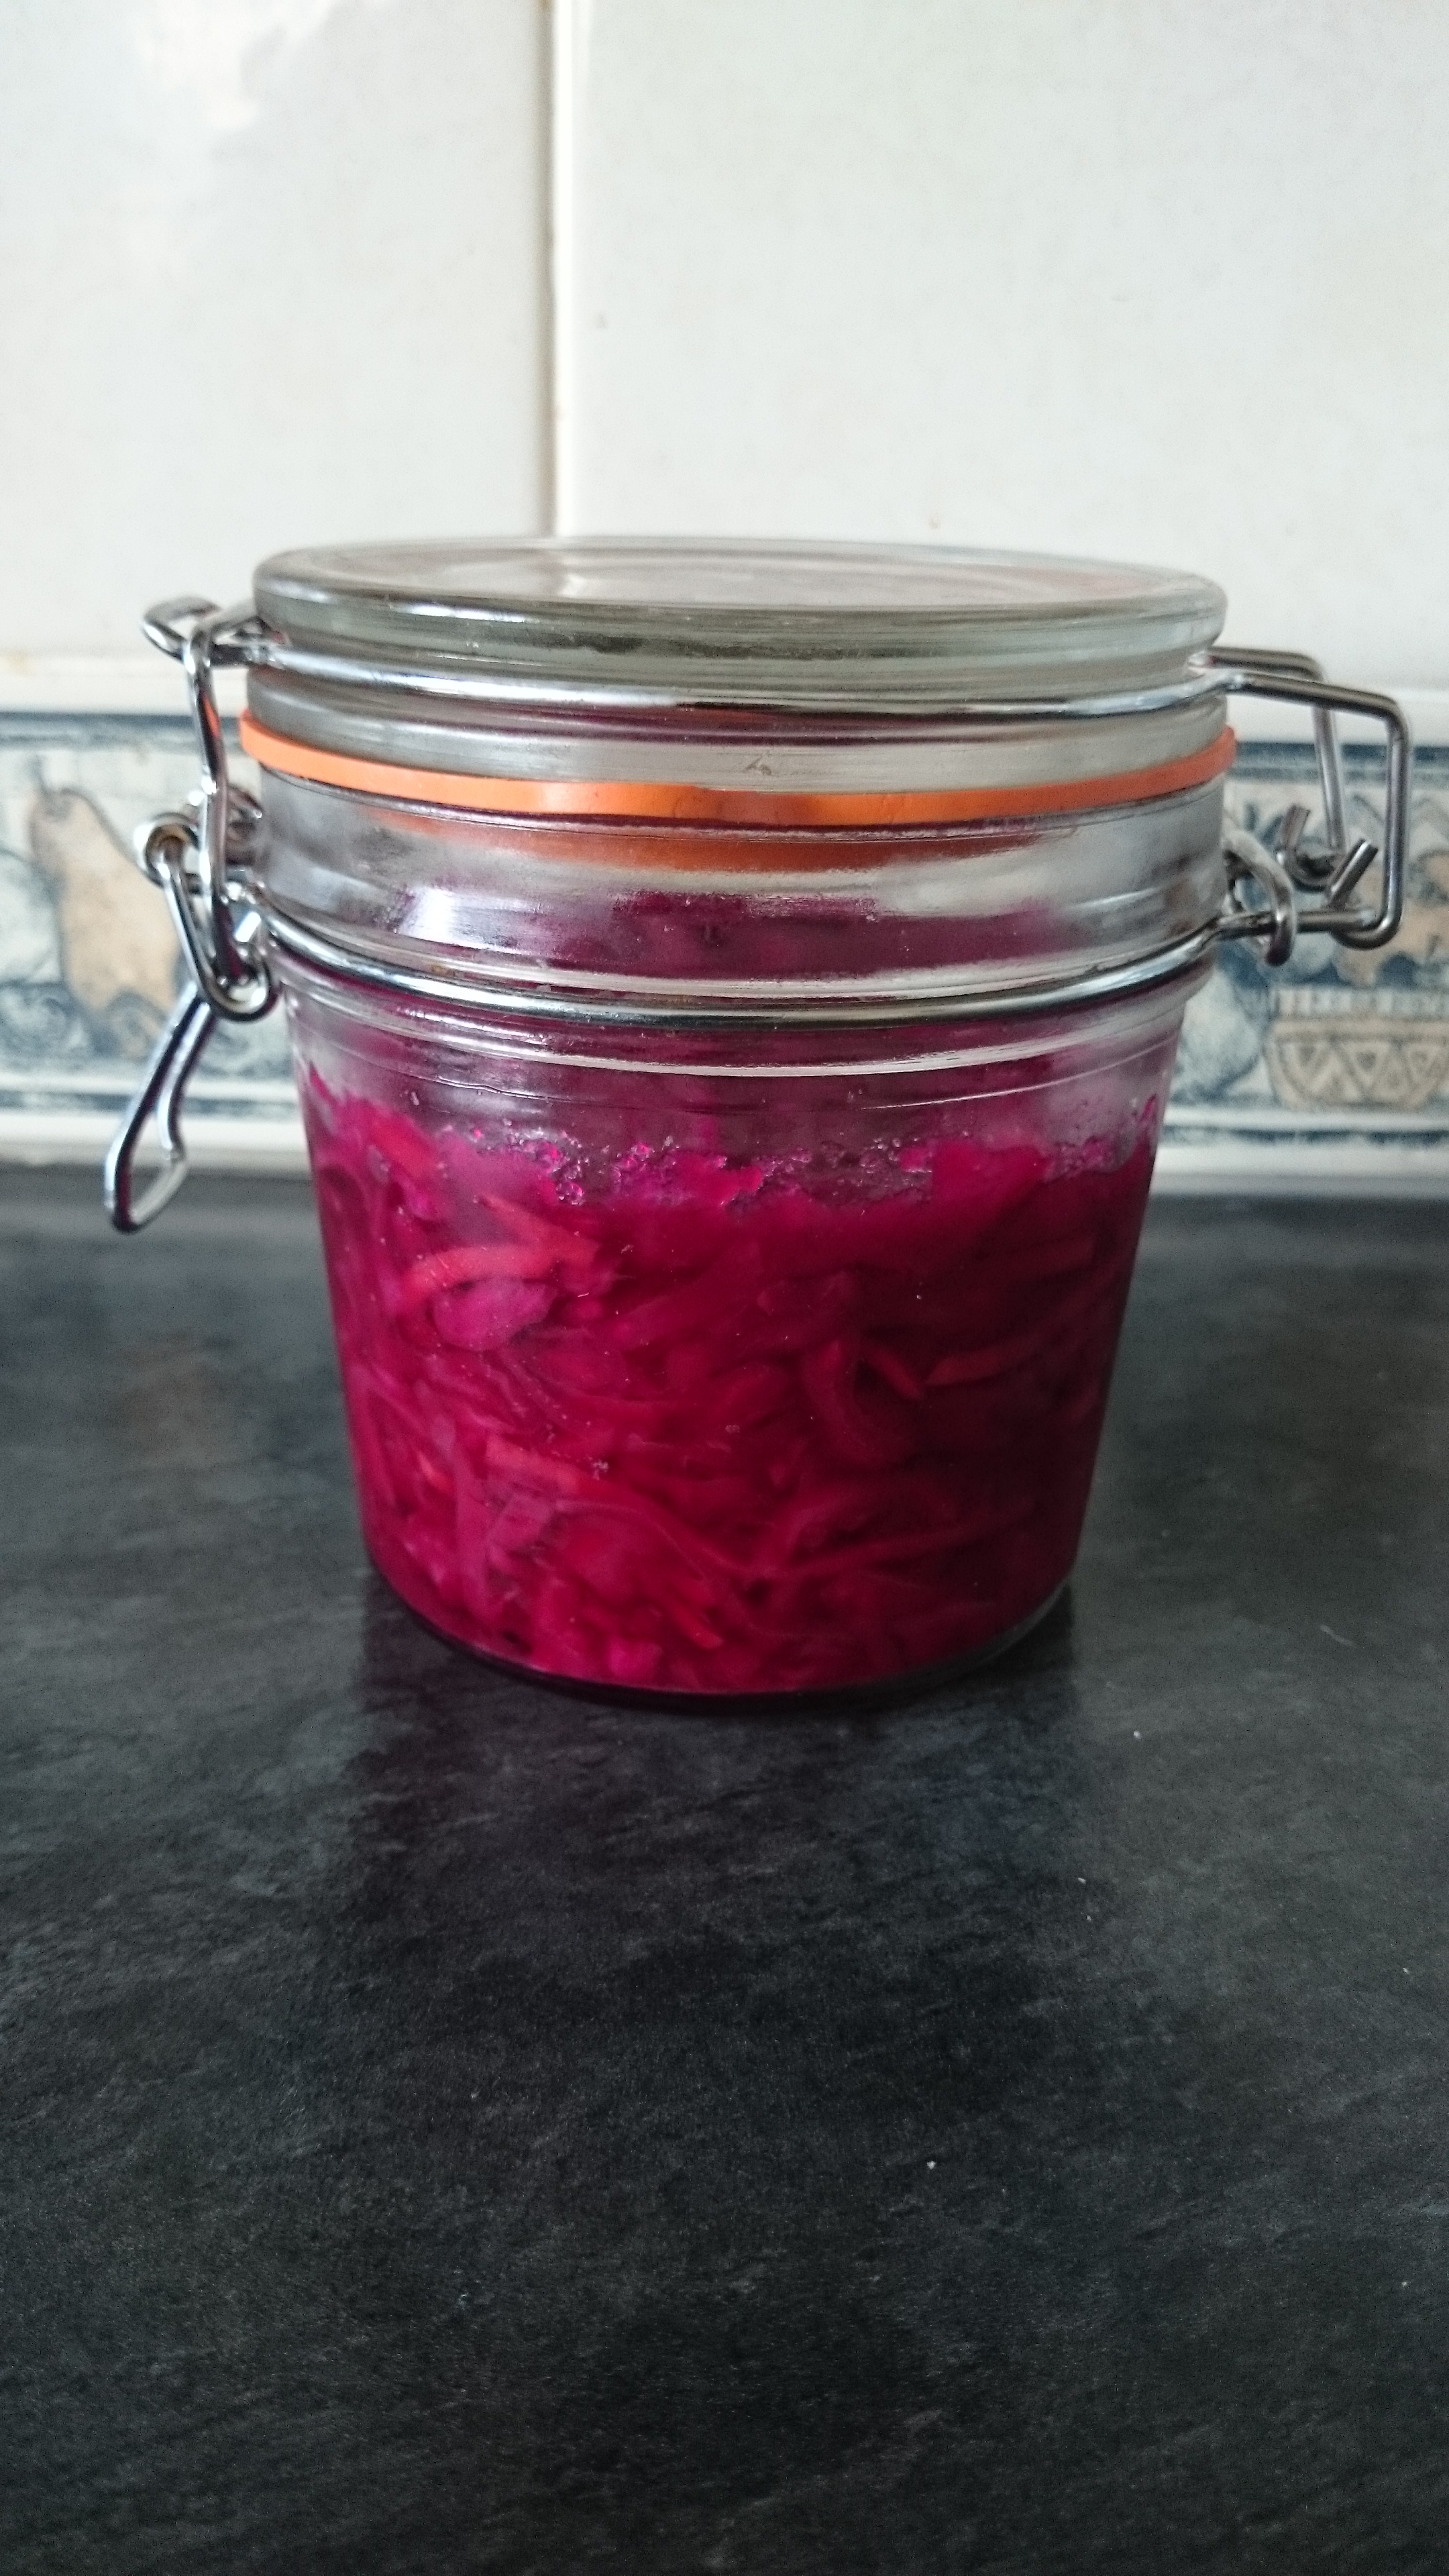
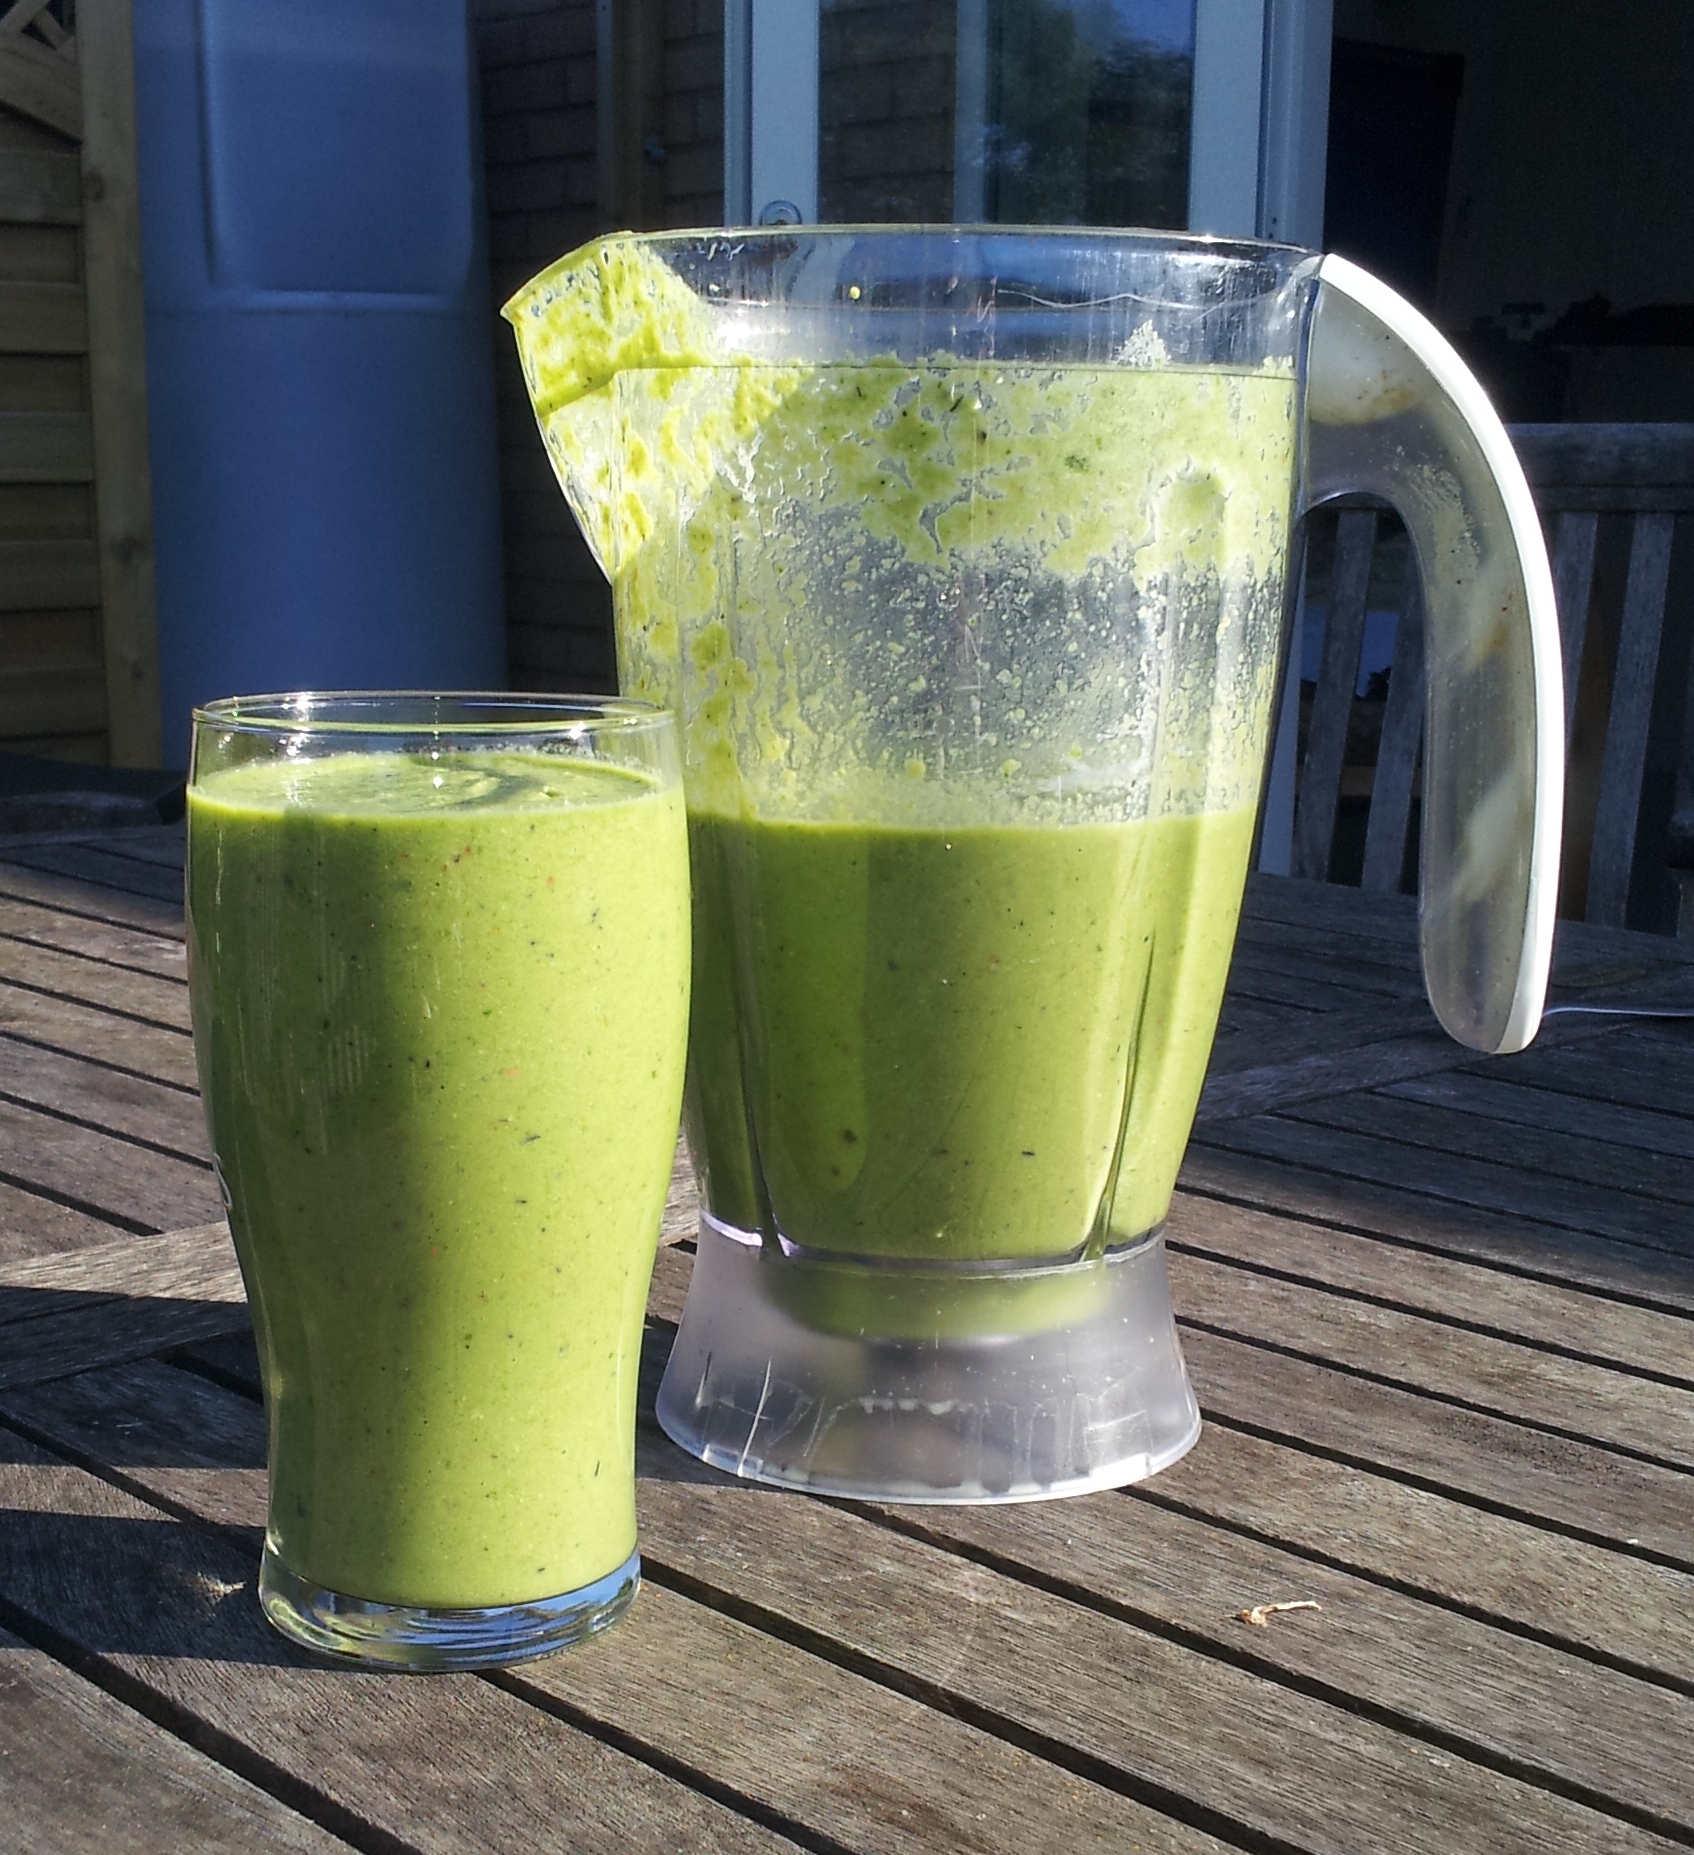
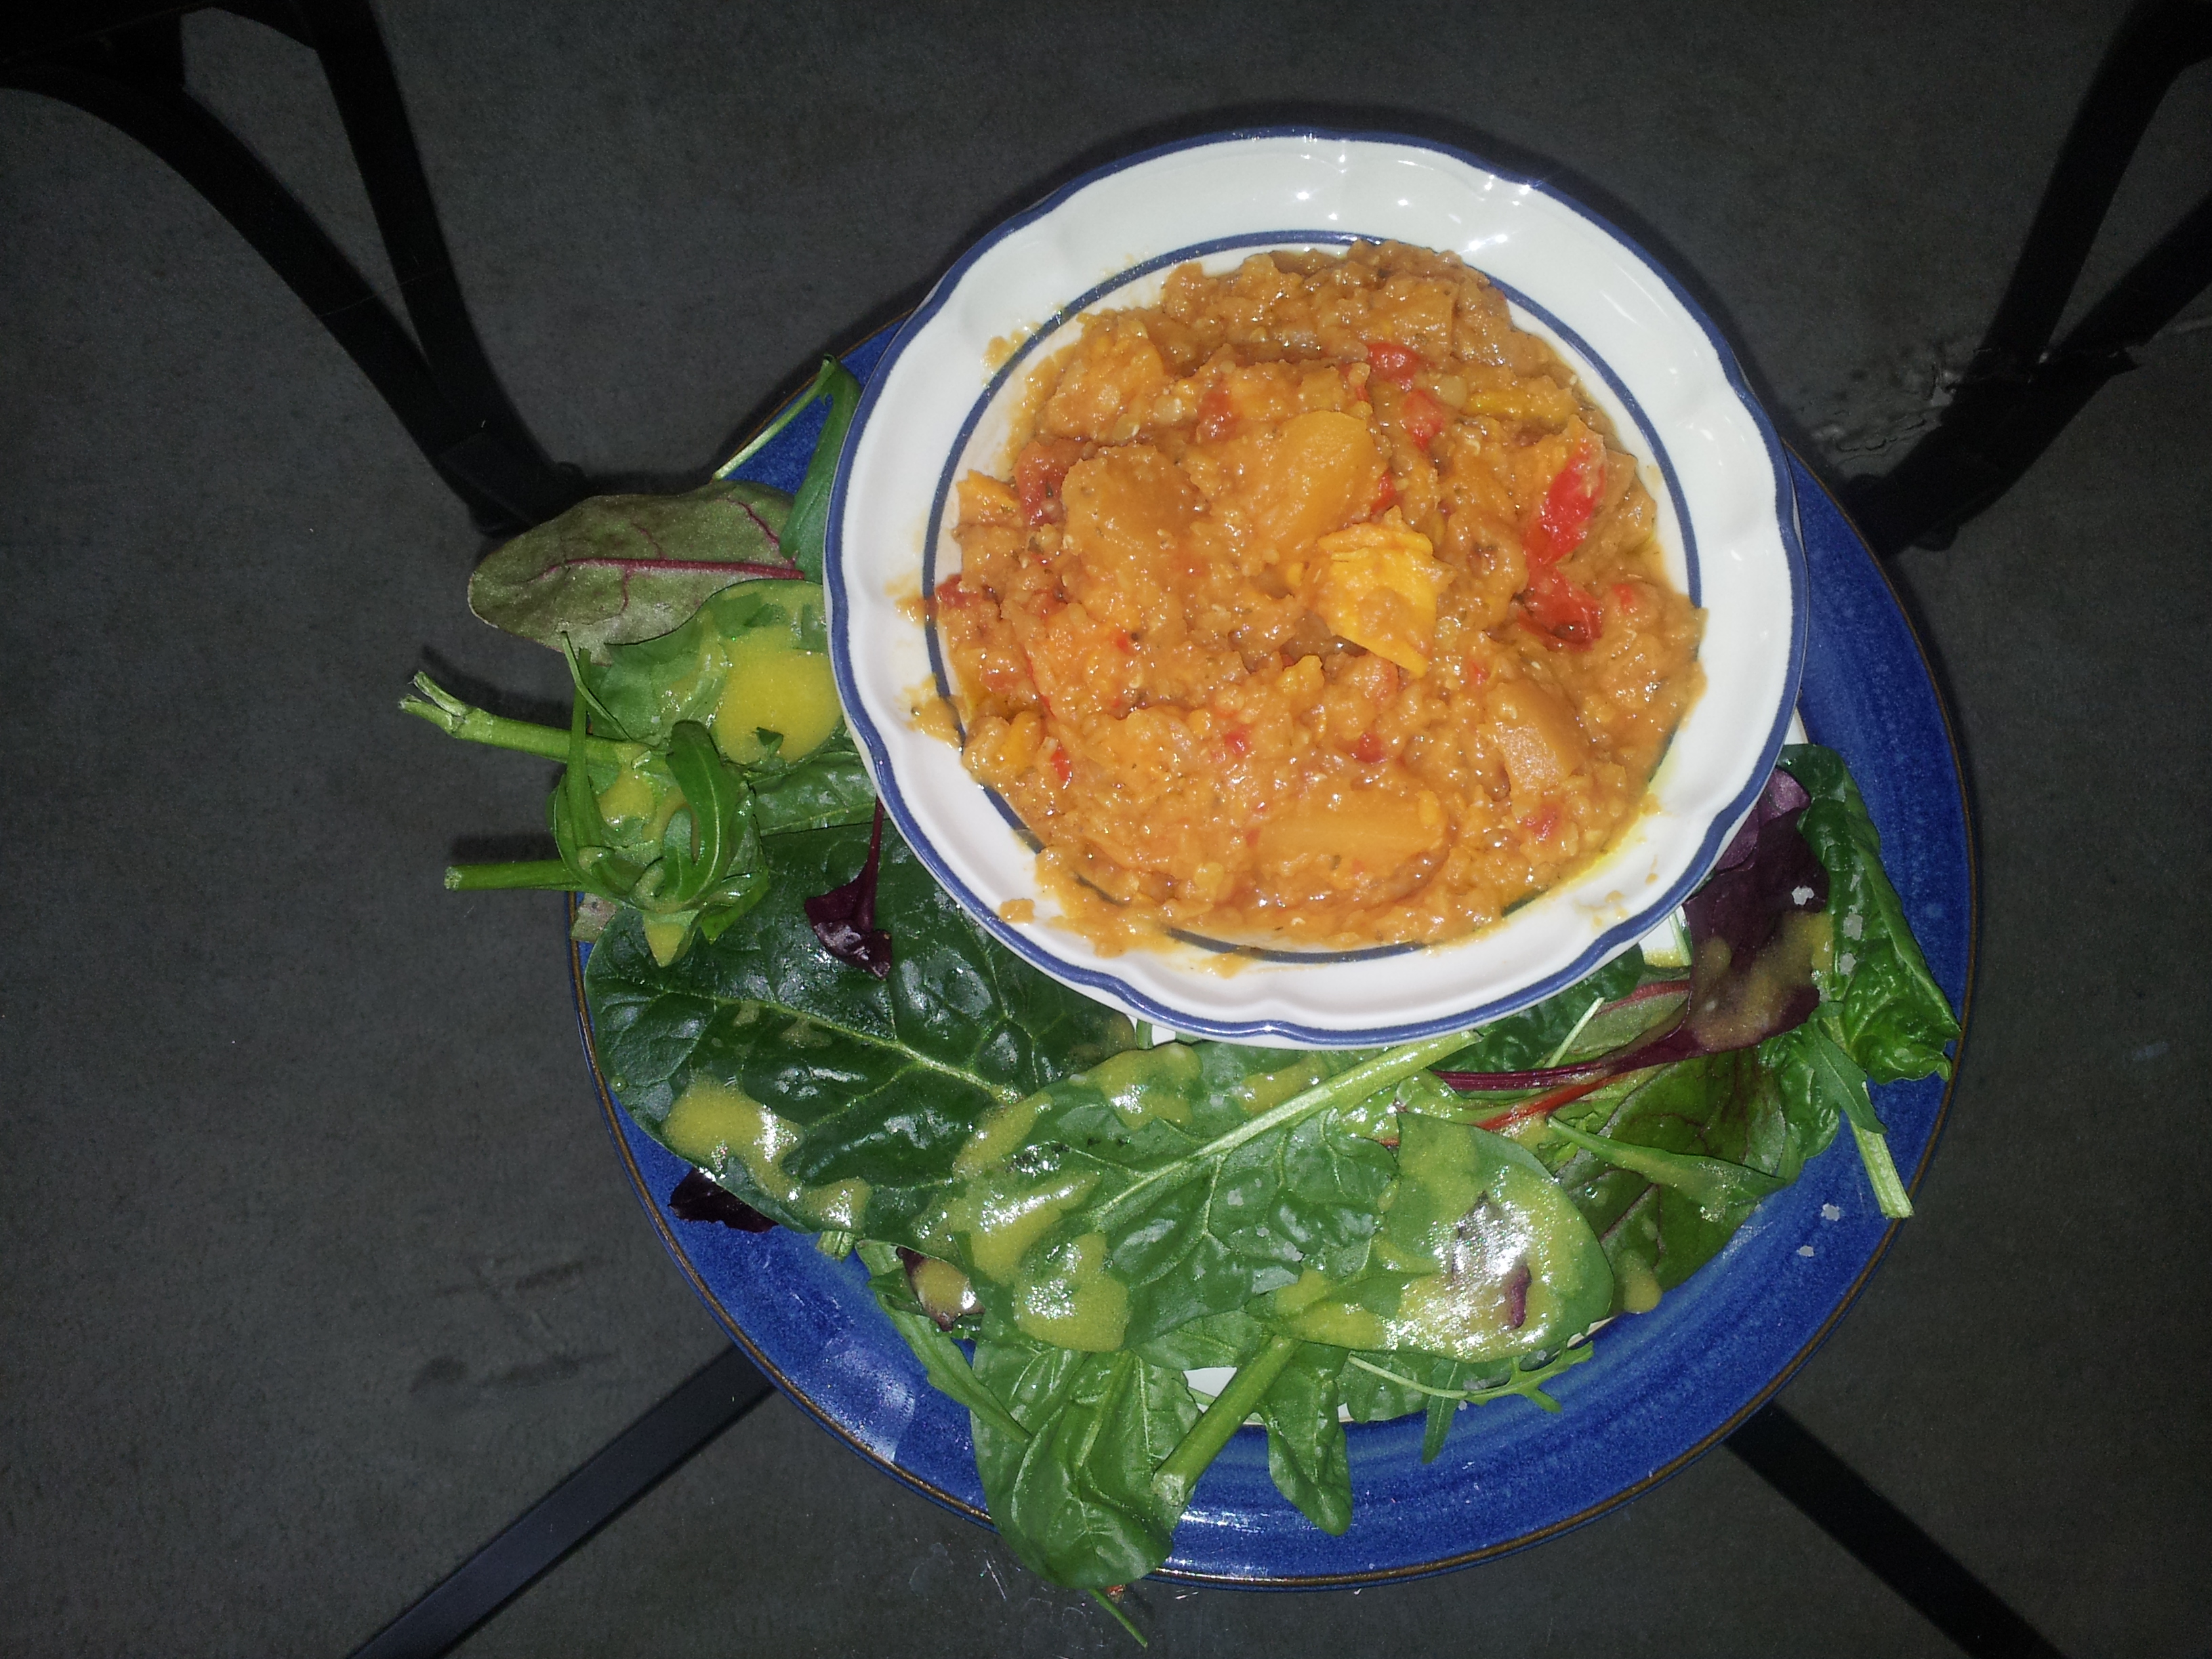
Free Recipes

My lovely nutritionist has a new, improved website, and if you head over to her website Nutrition Within you can get some free healthy recipes.  What a treat for reading to the end of this post.

Fermented Foods

2015-01-26 09.38.15I’ve been experimenting with various fermented foods over the last few months, and I’ve decided it’s time to share my results.

I’ve already written about my homemade yogurt and kombucha, which are both fermented foods.  This post focuses on my experiments fermenting vegetables.

There is a lot of science involved in the fermentation process, and, for me, some understanding of that was important to success.  I wrote a post called Cabbage Juice Stinks after my first unsuccessful experiment with fermenting cabbage.  I still shudder at the memory of that smell, and it put me off fermenting vegetables for a good while.  However, I continued to read about the benefits of fermentation, and plenty of food/health bloggers extol the virtues of foods like sauerkraut and kim chi.

I tried making sauerkraut following this recipe .  I was unsure about a recipe that called for me to scrape the mould off the surface of the ferment.  Further reading validated my doubts.

scraping off the mold leaves it’s roots behind, and ingesting this can end up causing problems in the long run. Nourishing Traditions

Apart from the mould, the other problem with this batch of sauerkraut was that it was so salty it was inedible – another unsuccessful experiment.

When I came across this fabulous set of articles testing fermentation vessels and read the detailed information about fermentation by Lea Harris of Nourishing Traditions, I understood where I’d gone wrong in my previous attempts : not keeping out oxygen.  This gave me the confidence to try fermenting again. First I bought a Kilner Jar (known as Fido Jar in the US and in the Nourishing Traditions articles).  This would allow me to keep the oxygen out of my ferment, and hopefully lead to success.  When it came time to set up my ferment I decided on Kim Chi.  I happened to have a red cabbage on hand and this led me to a recipe by Garden Betty.

The results from this have been a success.  I adapted the recipe, by leaving out the red pepper powder and daikon because I didn’t have any and I had no idea where to buy any.  I’m happy to say the other flavours in the recipe led to a tasty jar of fermented vegetables that my husband and I add to our plates regularly.  The kids turn their noses up at it, and complain about the smell, so I mainly eat it at lunch time when they are at school.  It’s a great low effort way to add additional vegetables to my meal.

Red Cabbage Kimchi  (Adapted from Garden Betty’s recipe)
Makes 3 quarts

Ingredients

2 pounds red cabbage, chopped
1/4 cup salt (I use sea salt)
1/2 pound carrot, julienned
6 spring onions, sliced into 1-inch segments
4 cloves garlic, minced
1-inch piece fresh ginger, peeled and minced
1 small pear or apple, peeled, cored and chopped
1 small yellow onion, chopped
dechlorinated water – amount varies
2 tablespoons fish sauce

Method

  1. Chop the cabbage into thin, bite sized pieces (I use my food processor for this)
  2. In a large bowl, massage the salt into the cabbage until the leaves start to release liquid.
  3. Cover with water and let the cabbage sit at room temperature for at least two hours while the salt draws out moisture. Periodically toss the cabbage and work your hands through the leaves to expel more moisture.
  4. After about two hours, the cabbage should be soft and limp, and the volume reduced in half. (If yours is still firm and full, come back to it after another hour or two.) Strain the cabbage and rinse under running water to remove excess salt. Strain again, then return the cabbage to the bowl. Add carrot, green onions, garlic, and ginger.
  5. In a blender, combine the pear (or apple, if using), yellow onion, water, and fish sauce, and give everything a whirl until smooth. Pour the sauce over the vegetables.
  6. Put on some gloves (the sauce can be pretty spicy and smelly to work with!) and give the kimchi a good rubdown, making sure the veggies are well combined and coated with sauce.
  7. Pack the kimchi into kilner jars, leaving 1 to 2 inches of headspace. The veggies will expand and release more liquid as they ferment, so you don’t want to overfill the jars. Tamp down the veggies with the back of a spoon to fully submerge them. I found that there was enough liquid in the jars to keep them submerged, and since the liquid is more of a paste, the veggies don’t float to the top as in other ferments.
  8. Wipe the rims clean, then seal the jars and let ferment at room temperature, out of direct sunlight, for at least about 2 weeks. (It wouldn’t be a bad idea to place the jars in a shallow baking dish to catch any overflow of liquid.)Every day, press down on the veggies with a spoon to expel more liquid and make sure everything is shipshape. A proper ferment should have no mold and no off smell. 


6 Great Ways to Enjoy Chocolate

I love chocolate, and so do most people I know. It’s apparently National Chocolate Day today, so it seems a perfect topic to write about.

Chocolate is generally considered an unhealthy food that we should eat less of, and your standard bar of  Dairy Milk, Mars Bar or any other of the confectionery on offer at your local newsagents probably is, but this is largely because of the sugar content, and of course if you have a problem with dairy, which some ME/CFS sufferers do, it also contains milk.

However, dark chocolate (aim for at least 70% cocoa solids) has a much lower sugar content and no dairy and hence should be considered separately to milk chocolate.

One study, by Hull University, claims dark chocolate is beneficial to ME/CFS.  Here’s a summary of a study.  It was only with 10 patients, so it’s a very small sample, but encouragingly for chocolate lovers it did show that eating dark chocolate was beneficial to ME/CFS sufferers.

Although there doesn’t seem to be lots of evidence pointing to the benefits of dark chocolate, I didn’t find any saying it was harmful.  It’s just that as with most topics and ME/CFS very little research has been done (perhaps we could persuade Lindt and/or Green and Blacks to fund a study).

There are scientific reasons why cocoa could help with ME/CFS symptoms.  Firstly, it improves seratonin levels in the brain, which some research studies have shown to be affected in ME/CFS sufferers.  Additionally, cocoa contains other chemicals and nutrients – eg magnesium, potassium, dopamine,  and tryptophan, as well as antioxidants that have been linked to ME/CFS.  

Based on the available information I see no problem making cocoa a regular part of my diet.  The trick is to find tasty ways to consume it without eating lots of sugar.

1. Eat a small bar, or a couple of squares of dark chocolate

Unlike milk chocolate which I find it hard to stop eating, I can have a small amount of dark chocolate and return the bar to the cupboard.  I quite often have a small amount in the evening.

2. Fabulous Fridge Cakes

You can find the recipe (by Dale Pinnock) on the Revital Website

This is a great way to consume not only cocoa, but healthy fats and fibre as well.  Our whole family enjoys these fridge cakes.   The website claims the benefits of this recipe include:

Heart & circulation – high blood pressure, high cholesterol: magnesium rich cocoa is believed to have a temporary lowering effect upon blood pressure. Essential fatty acids beneficial for reducing LDL cholesterol. Digestive system – constipation: high fibre to aid regularity.

3. Chocolate Fudge Balls

I got this recipe from my Nutiritionist (Thanks Nicola!). These are very rich.  Whilst they’re not an ideal every day treat, they are great for a special occasion, and are certainly better than eating a mars bar.

 Ingredients

  • 3 cups dried coconut
  • 1.5 cups cocoa powder
  • 0.75 cups maple syrup or date syrup
  • 0.5 cup of coconut butter, melted(I couldn’t find coconut butter, so I used coconut oil and it tasted great)
  • 1 tablespoon of vanilla essence
  • 0.25 – 0.5 teaspoon of salt

Mix all the ingredients together (I used a food processor) and form into approx 20 balls.  For a better appearance roll in some extra coconut.  Then place in petit four cases if you’re being fancy.

4. Chocolate Chia Pudding

I recently discovered this recipe by Oh She Glows and my son and I have had it for breakfast a couple of times – yum!

5. Chocolate Brownies

I was really pleased to discover this recipe for chocolate brownies, free of flour and refined sugar.  Whilst all the dates mean that it could still cause blood sugar regulation issues (I used to struggle with that, but it’s no longer such an issue for me), it’s healthier than most brownie recipes.  It’s probably not an ideal everyday treat, but as an occasional indulgence it’s delicious.

6. Chocolate Ice Cream

This is another easy recipe from my nutritionist, which we sometimes have for breakfast and sometimes for dessert.

Ingredients:

  • 1 bag of frozen strawberries
  • 1 handful cashew nuts, almonds or hempseeds
  • 1-2 cups of natural bio-yogurt or water
  • 2 scoops of chocolate protein powder

Place all the ingredients in a blender, whizz until smooth and looks like ice cream.  The recipe says this makes 2 large bowls, but I actually make 6 portions from this.

So there you have it.  My 6 Great Ways to Enjoy Chocolate.  Happy chocolate eating everyone, and if you know of any other delicious, nutritious chocolate recipes please let me know.


Green Smoothies


2014-06-11 07.53.42What is a green Smoothie?

Smoothies are made in blenders, as opposed to juices, which are made in a juicer.   The difference between the two is that smoothies contain the whole fruit and/or vegetable, whilst juicers extract the juice, but leave the fibre behind.  A smoothie can be as simple as fruit blended with some water, or they can be made more nutritious by the addition of other ingredients e.g. bio-yogurt or  protein powder. A Green Smoothie is a smoothie that’s coloured green,  from the addition of vegetables.

Why Green Smoothies?

If you’ve read my post about vegetables you’ll know I’m a convert to the idea that vegetables contain many micro nutrients which our bodies need in the healing process.  Increasing the vegetable content of my diet is something I am focussed on.  Eating a significant quantity of vegetables at breakfast is tricky.  Sometimes I make an omelette with a mix of mushrooms, spinach, peppers and/or onion, but I don’t always have time for all the chopping that entails.  A green smoothie enables me to get a really big quantity of vegetables straight into my system first thing in the morning, quickly and easily.  Dr Terry Wahl, author of The Wahl’s Prtotocol is a fan of green smoothies, so is Johnathan Bailor, author of The Calorie Myth, and so is my nutritionist.

My Experience

I’ve been making smoothies for years.  I can’t remember where I first read about them, but I found they made a great after-school drink/snack for my children.  I also read about adding spinach and used this as a great way to get my kids to eat spinach without them even knowing.  If you keep the spinach content relatively low you don’t even notice it (honestly – give it a try if you don’t believe me).

When I got ill, activities like smoothie making were far too much energy for me, and we stopped.  My daughter was encouraged to make her own green smoothies by our nutritionist, but this was an unsuccessful experiment as she didn’t like the taste of the recipes suggested (having looked at the recipes they contained a higher proportion of bitter greens and the fruit suggested was less sweet than the berries I use in mine, e.g. kale with apple and lemon).

I’ve been drinking green smoothies for most of my breakfasts for 2-3 months now.  I didn’t start out with  the ultimate recipe that I list below.  I have gradually increased the proportion of vegetables to fruit, and as I’ve read about or discussed other ingredients with my nutritionist I’ve included them.

I use my green smoothie as a meal replacement and I add a whole load of stuff to it to increase my nutrient intake. My recipe is at the end of this post.  By the time I’m finished my blender jug is nearly full, and I generally get 2-3 large glasses full of smoothie.  If I manage to drink all this (and I generally do) it keeps me full until lunch time.

I feel really good when I have smoothies for breakfast.  Of course it could be a psychological boost from feeling that I’m doing something healthy, but I think there is a physical boost from all the nutrients entering my body.  When I think about what I want for breakfast I now often think smoothie and really look forward to it (you may find that surprising when you read the ingredients list).  Partly this is because it’s so quick and easy, but partly it’s because I feel good after I’ve drunk it.

Below are two smoothie recipes: my beginner green smoothie recipe and my Ultimate Green Smoothie recipe.  My Beginner recipe is what I used to make for my kids (and me).  It’s a very gentle introduction into green smoothies and I encourage you to try it as a snack.  If you get on OK with that then you can start gradually increasing the proportion of vegetables, decreasing the proportion of fruit and gradually try adding in some of the other ingredients from my Ultimate Green Smoothie Recipe.   Let me know how you get on.

Beginner Green Smoothie Recipe

 Ingredients

  • 1 cup strawberries (fresh or frozen)*
  • 1 banana (fresh or frozen)*
  • 1 small handful of baby leaf spinach
  • 1 small carton of natural pro-biotic yoghurt
  • ice cubes* and/or water
  • Optional extra: 1 scoop of whey protein powder – this will give the smoothie a thicker creamier texture and flavour as well as adding protein to the smoothie.

*If at least one item of fruit is frozen it improves the texture of the finished drink.  You can also add ice cubes, but frozen fruit gives the best results.

INSTRUCTIONS

Put all the ingredients in a blender jug and blend until smooth.

My Ultimate Green Smoothie Recipe

Please note if you’re new to smoothies I don’t suggest you start with this full recipe.  Use the beginner smoothie recipe above and transition gradually.

INGREDIENTS

  • 2 cups of vegetables.  I aim for 1 cup of green leafy, with the other cup either sulphur rich or colourful, or a mixture (see my Vegetables post for a list of which vegetables fall into which category)
  • 1 cup fruit – a mix of raspberries and blueberries is my favourite, but I also use strawberries, papaya, mango, kiwi, melon, pear etc.
  • 2 dessert spoons Miracle Matcha (or freshly ground linseeds, chia seeds and goji berries)
  • 1.5 scoops whey protein powder.
  • 1 teaspoon of ground nutmeg or cinnamon (or you could try other spices)
  • 3 tablespoons of Pukka Aloe Vera Juice
  • Coconut water (approx half a cup)
  • 1 cup coconut milk and/or bio yogurt (unless you’re dairy free)
  • Nutritional Yeast (excellent source of B vitamins) – approx 1 teaspoon
  • 1 teaspoon Green Nori Sprinkle (a great source of iodine – important for  thyroid function)

 Instructions

Put all the ingredients in a blender jug and blend until smooth.


Sweet potato and Lentil Stew

2014-02-11 12.09.33

Now that I’ve got more energy I’m enjoying making soups and stews for my lunches. Normally I make a big potful and freeze it in individual portions.

I made this simple stew in my slow cooker the other day, it tasted great so I thought I would share it with you.

  • 300g dried lentils, washed
  • 2 sweet potatoes
  • 400 g tinned tomatoes
  • 1-2 red peppers, diced
  • 1 onion, chopped
  • 3 cloves garlic, pressed
  • 600 ml  chicken stock
  • 3 tsp dried mixed herbs
  • 1 tbsp olive oil

Put all the ingredients, except the olive oil, in the slow cooker.  Cook on low for approximately 8 hours, until the lentils and vegetables are tender.  Stir in the olive oil just before serving.

I served this with some salad leaves and home made dressing.


Apple and Chia Seed Porridge

This is a great breakfast for those cold winter mornings.

The recipe largely comes from Wallflower Girl.  Thanks to her for a great idea, which I adapted slightly to suit the ingredients I had.  I found I did not need to add any sugar, as the apple and spices gave this dish plenty of flavour.

Also, I did not have any almond butter, so I just used ground almonds instead – it worked a treat!

Ingredients
  1. 120ml (1/2 cup) almond milk
  2. 2 tbsp chia seeds
  3. 2 tbsp ground almonds
  4. 3 dates, roughly chopped
  5. 1/2 tsp mixed spice
  6. 1/2 tsp ground cinnamon
  7. 1 apple, cored*
  8. Chopped pecans
Instructions
  1. Mix all the ingredients, except the chopped pecans, in a blender until thick and smooth.
  2. Transfer to a saucepan, stir and heat gently until warm.  (The original recipe is from a raw food blog and recommends not heating above 40 degrees C.  I just heat until it’s a pleasant temperature to eat – no need to boil)
  3. Serve with chopped pecan nuts.  Enjoy!

*I’ve also tried it with pear instead of apple -that’s just as good.

Banana Protein Pancakes with Berries and Yoghurt

This post is dedicated to my friend Ang who is making a real effort to eat healthily and has found porridge and IBS do not mix.  Oats, and most other grains, are included in my foods to eat less of list, but there’s plenty of other great foods to eat for breakfast.

This is my favourite breakfast at the moment.  I don’t have it every day, because I’ve been advised by my nutritionist to ensure I eat a variety of different foods.

Banana Protein Pancakes with Berries and yoghurt

Banana Protein Pancakes with Berries and Yoghurt

Recipe

Ingredients

  • 1 ripe banana
  • 1 egg
  • 1 scoop plain whey protein powder (vanilla or chocolate flavoured would probably work, but I haven’t tried them)
  • coconut oil
  • a handful of berries (mine are frozen)
  • live natural yogurt.*

Method

Mash the banana in a bowl, add the egg and protein powder and mix together with a fork to form a lumpy batter.

Heat a little coconut oil in a frying pan.  Add spoonfuls of the pancake mix to the pan to make approx 6 mini pancakes. Cook on medium heat.  Turn when bubbles form on the top of each pancake and the mixture is no longer liquid.

Serve with defrosted berries and yoghurt.

* I use home made yoghurt which has been fermented for 24 hours.  If you have a problem with dairy try goat’s or sheep’s milk yoghurt.

Bone Broth

I’ve already mentioned in Feeding hungry kids (and husbands) that a popular food in our house has been ready made soups from the chiller section of the supermarket.  I used to have a bowl of soup nearly every lunchtime. These were a life saver when I was too weak to cook.  However, now I’m improving I am managing to make more home made stocks and soups, although I still make use of ready made soups when I’ve run out of home made and I’m low on energy. I’ve been reading a lot about the benefits of bone broth.  It seems to be a bit of a super food.  Here’s some of the claims:

  • helps heal the gut
  • increase immunity
  • reduce joint pain in athletes
  • may improve sleep quality
  • helps the liver with detoxification
  • it’s a good source of magnesium, which I’ve found helpful in reducing restless legs and leg pain

If you want to research this further there here are some articles I found helpful:

As a CFS sufferer bone broth sounds like something I should be eating more of. I like the idea of perpetual soup.  I may try this next week and see how I get on.  I’m not sure my family will take kindly to drinking broth, but I will try it. I have made a couple of batches of chicken stock recently. I’ve used it in home made soups and various slow cooker recipes.  I still have a litre or so left in my freezer which I’m going to use in some leek and potato soup. Here’s how I make chicken stock: Ingredients

  • The remains of a chicken (carcass, skin etc.)
  • 1-2 bay leaves
  • 1-2 carrots
  • 1-2 celery sticks
  • 1 onion – peeled and halved
  • 3 peppercorns
  • celtic sea salt
  • herbs – usually thyme or rosemary (fresh or dried)

Put chicken carcass, skin and any other bits left when we’ve eaten the chicken into the slow cooker.  Add the other ingredients, cover with water to the capacity of the slow cooker.  Cook for approx 8 hours. Cool and drain the stock.  Keep in the fridge for approx 5 days or in the freezer for longer.