
I have simplified my yogurt making approach over the years. Here’s a few key points I’ve learned over the years, followed by my simple yogurt making process. If you want to learn more about the benefits of making yogurt this way, then please read the benefits of 24 hour fermented yoghurt.
Choice of Milk
If you use standard pasteurised milk (whether full fat, semi skimmed, or skimmed) then you need to boil the milk and allow it to cool to 43 degrees Celsius, or cooler, before you make yogurt. Boiling is to ensure that there are no unwanted bacteria present during the yogurt making process, and the cooling is to ensure the milk is not too hot for the live yogurt culture you are adding. I find this stage a huge pain, so when I read that you can use UHT milk straight from the carton, without boiling it first, I immediately started using that. This simplifies the yogurt making process.
However, I have read that modern, highly processed milk contains less nutrients (particularly the fat soluble vitamins A and D) than organic milk, so if you are being ultra conscientious you could start with some lovely, local, organic milk and boil it first. For me convenience wins, because the main nutritional benefit of the yogurt is all the “good” bacteria you are going to cultivate during fermentation.
If you can’t tolerate any dairy, even lactose free yogurt, then I have also made coconut milk yogurt. It doesn’t set in the same way as dairy yogurt, and the taste requires some adjustment, but it can be done. Here’s a recipe you could try if you’re interested. It took me quite a bit of experimentation to successfully make coconut milk yogurt, but it did help me through my trial of removing dairy from my diet.
Choice of Yogurt Maker
My first yogurt maker came from a jumble sale and consisted of six little pots that fitted into a heated base. The advantage of this arrangement is that when you transfer the yogurt to the fridge you have ready made portion size pots. The disadvantage is that making the yogurt was more fiddly because you have to mix six small portions of milk and starter, compared to having one large container, and usually I had to mop up some spillage afterwards.
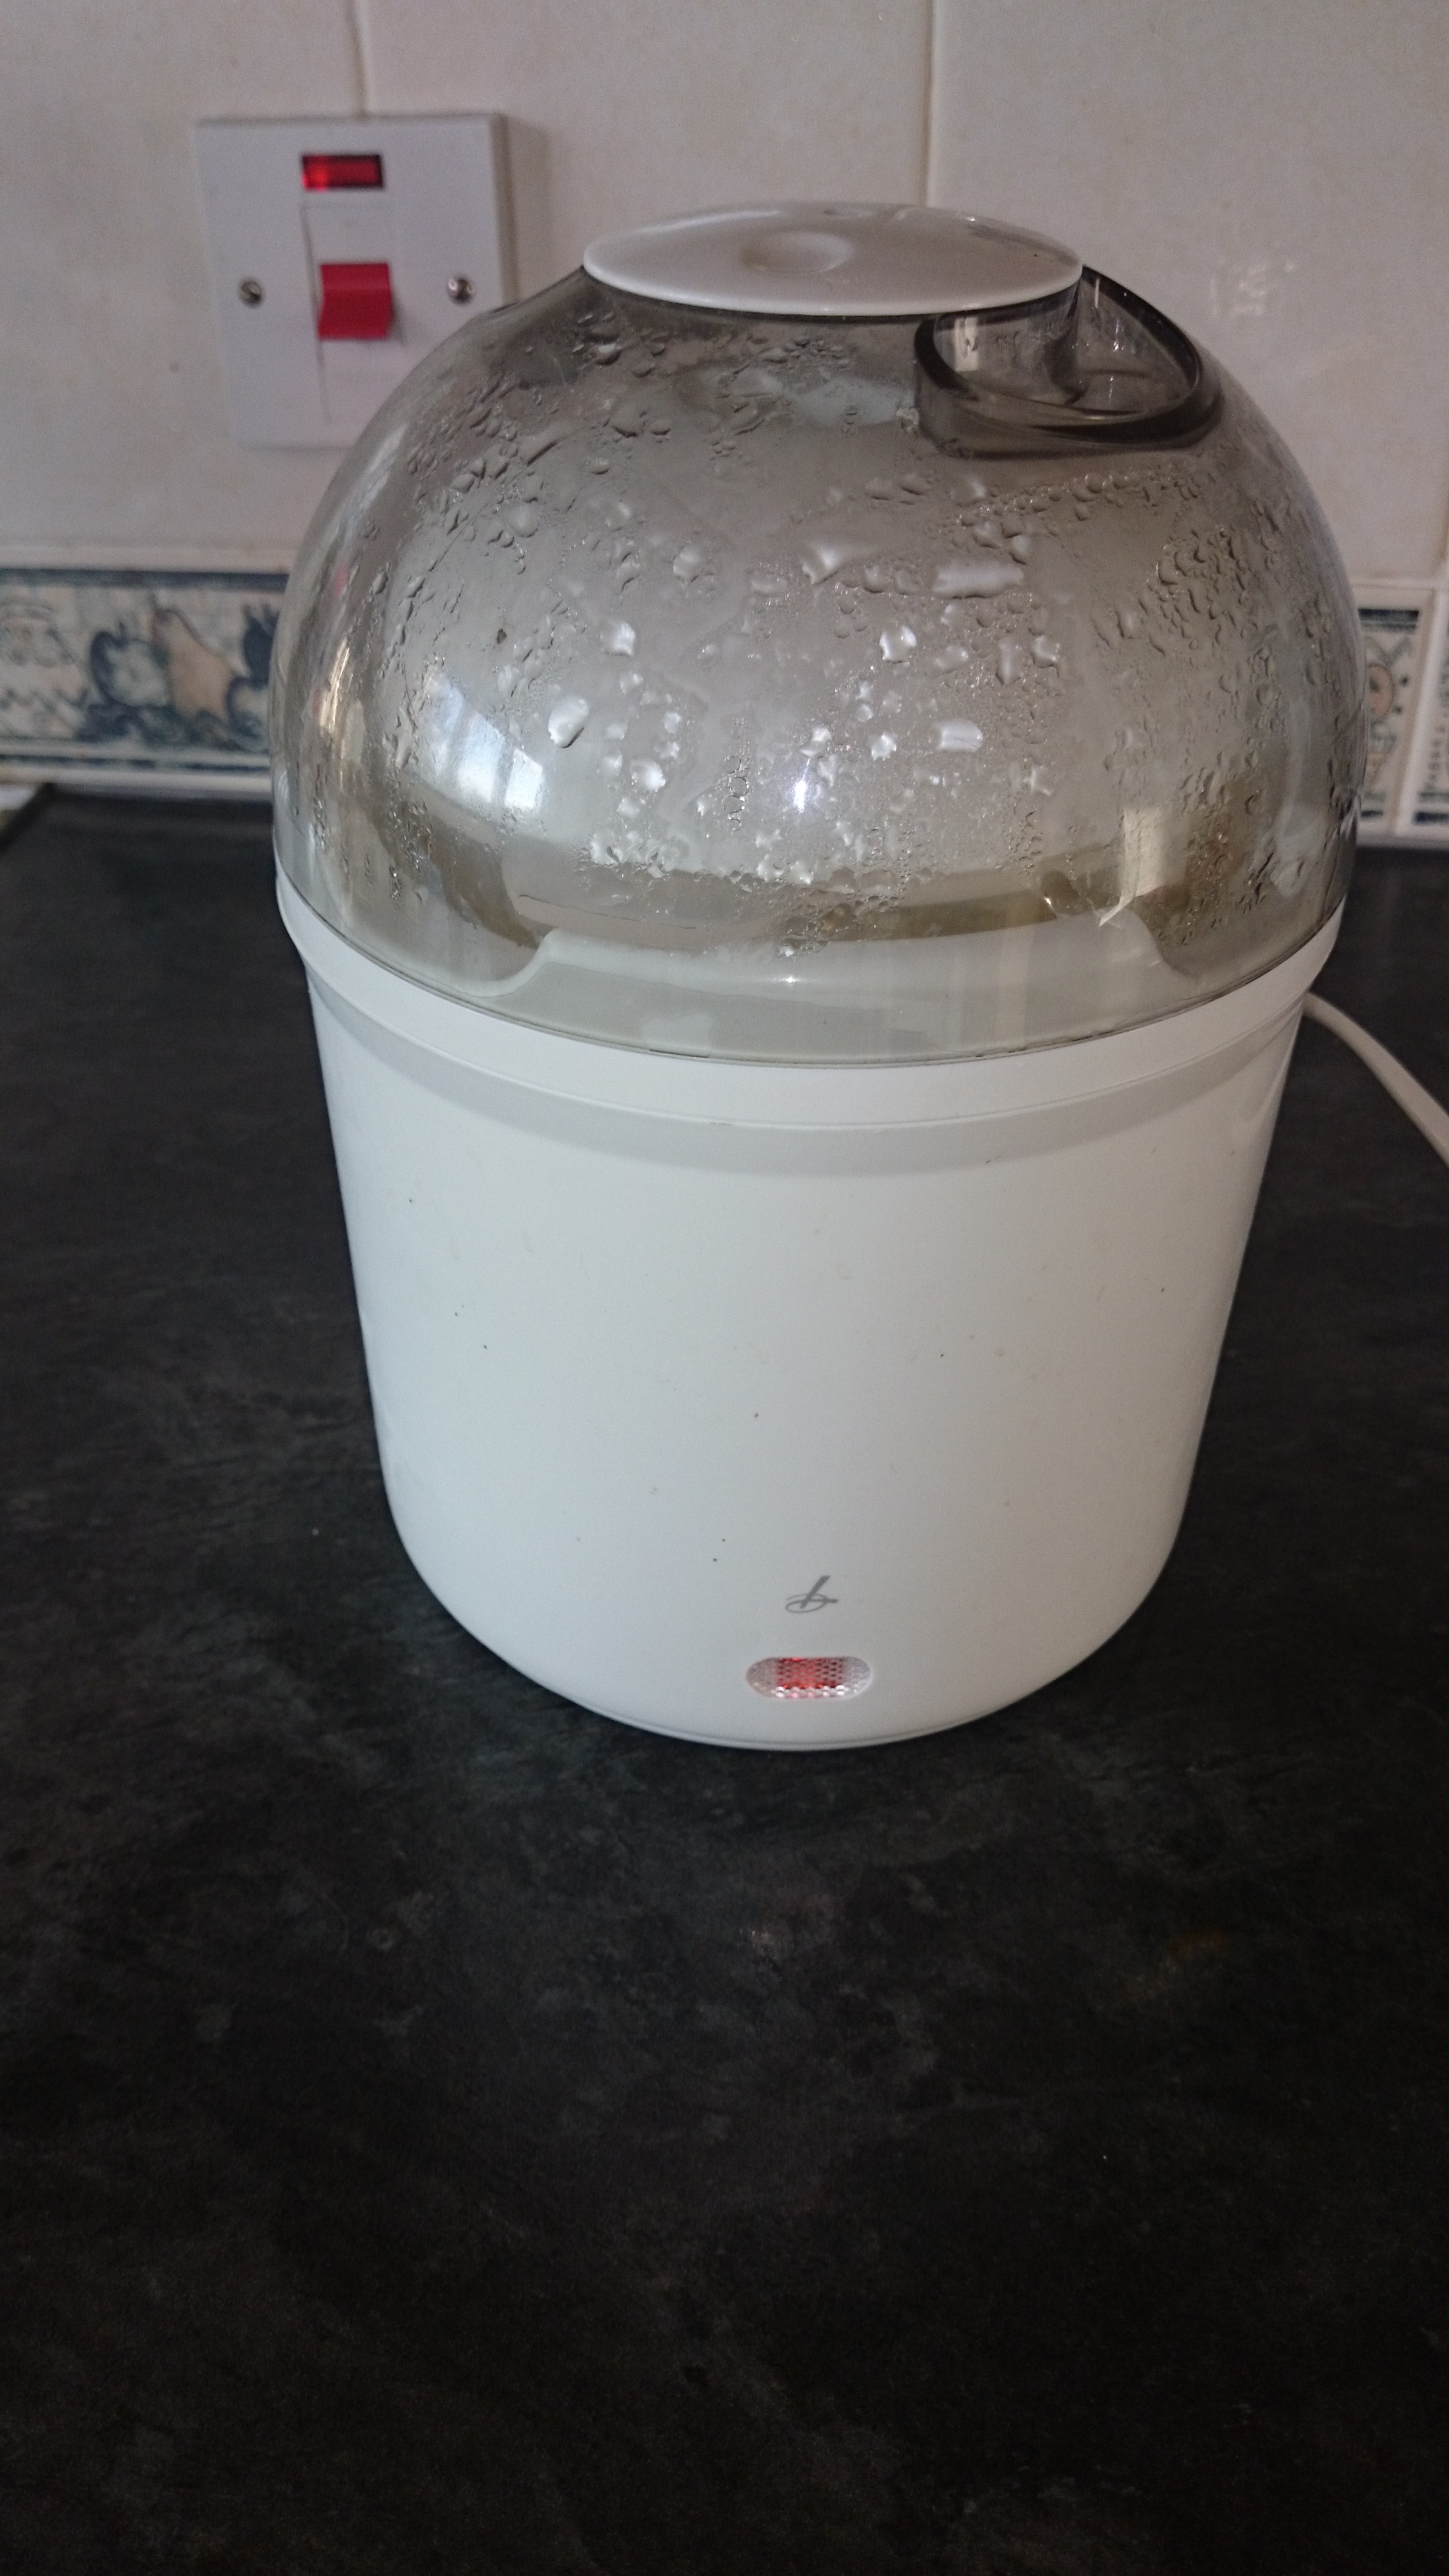
When my jumble sale yogurt maker broke I bought a yogurt maker from Lakeland and this has done excellent service. Lakeland have excellent customer service, and when my original purchase died after 1.5 years, they replaced it with a new one. That one is still going strong several years later. As a result, I highly recommend the lakeland yoghurt maker. This model has a 1 litre capacity container, meaning you mix up one big batch of yogurt, and then portion it out when you serve it, allowing flexibility on serving size, and meaning that setting the yogurt maker is quick and easy.
Choice of Starter
To make yogurt you need a starter, containing the yogurt making bacteria. The easiest (and cheapest) way to do this is to buy a small pot of natural, live (sometimes called bio or bio-active) yogurt. I usually buy Total yoghurt, because when I was learning about 24 hour fermented SCD yoghurt it’s what was/is recommended , because of the range of bacteria it contains. However, you can successfully make yogurt using any live yogurt starter. It goes without saying that you want natural yogurt, with no sweeteners, additives or flavourings.
How I make yogurt
1. Take a clean yogurt making container (I wash mine in the dishwasher, but do not sterilise it), your yogurt starter and 1 litre of UHT milk
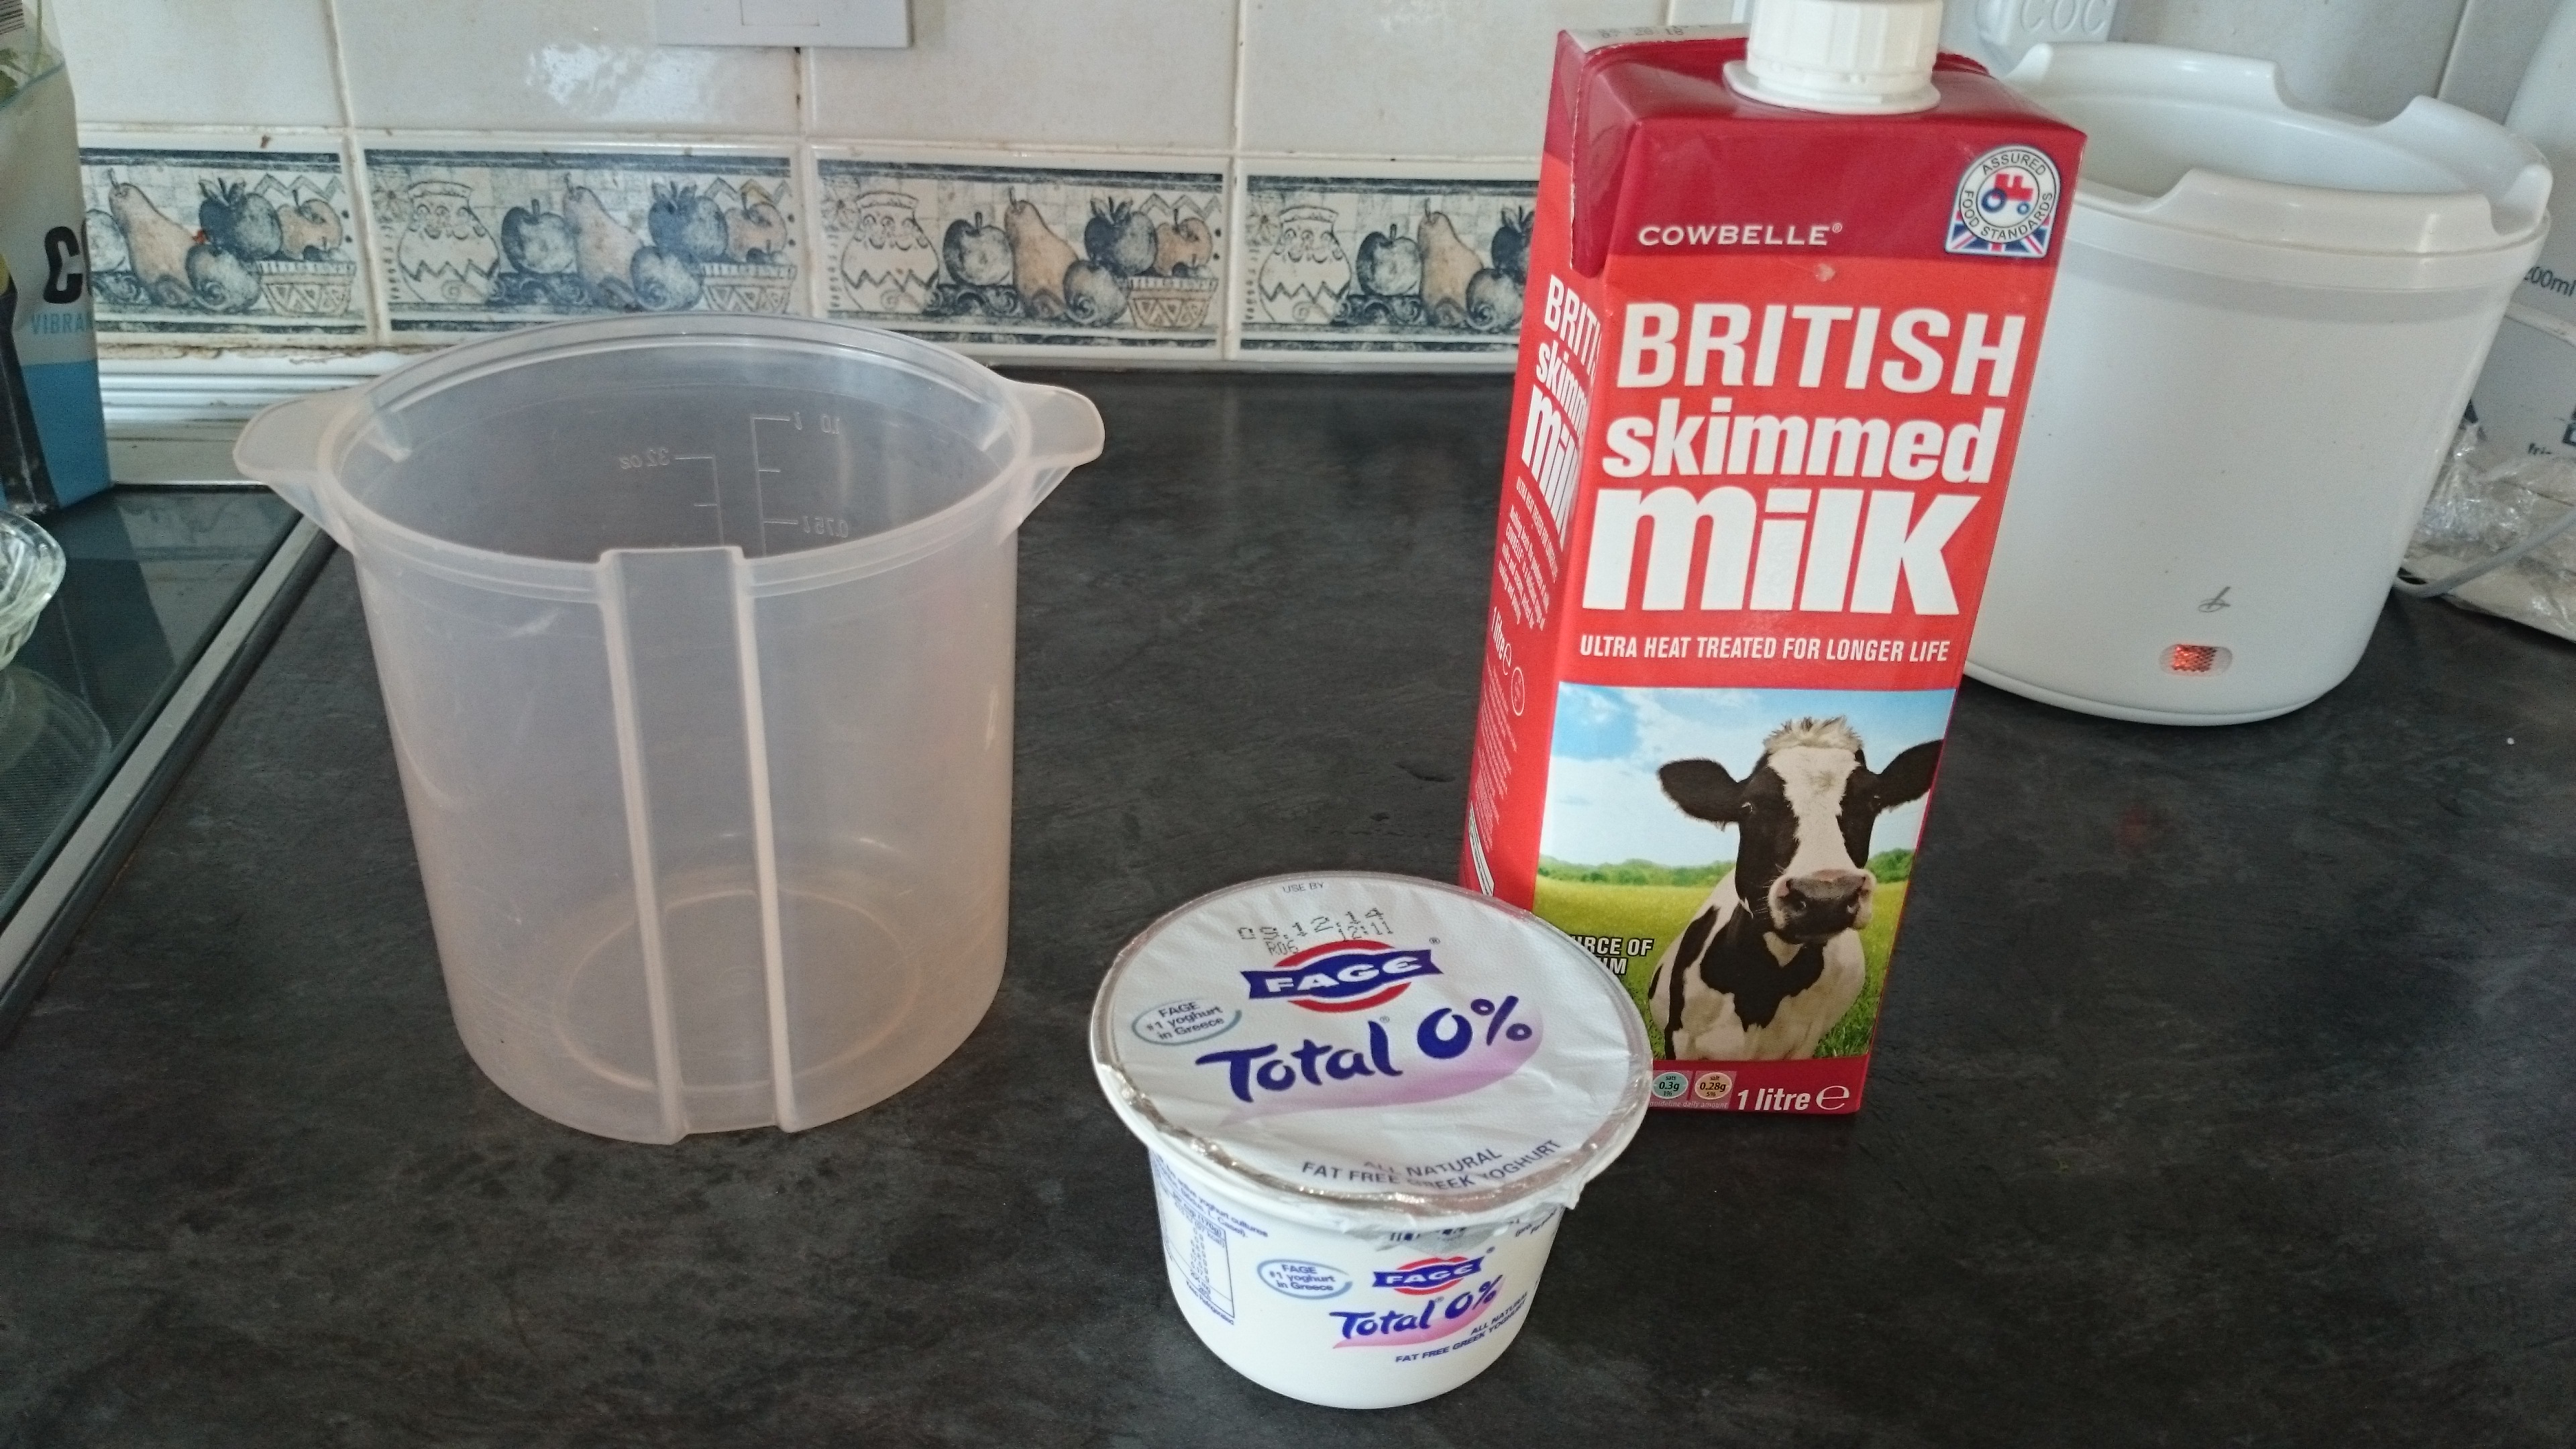
Yogurt making ingredients
2. Mix 1 heaped teaspoon of yogurt starter with a small amount of the milk.
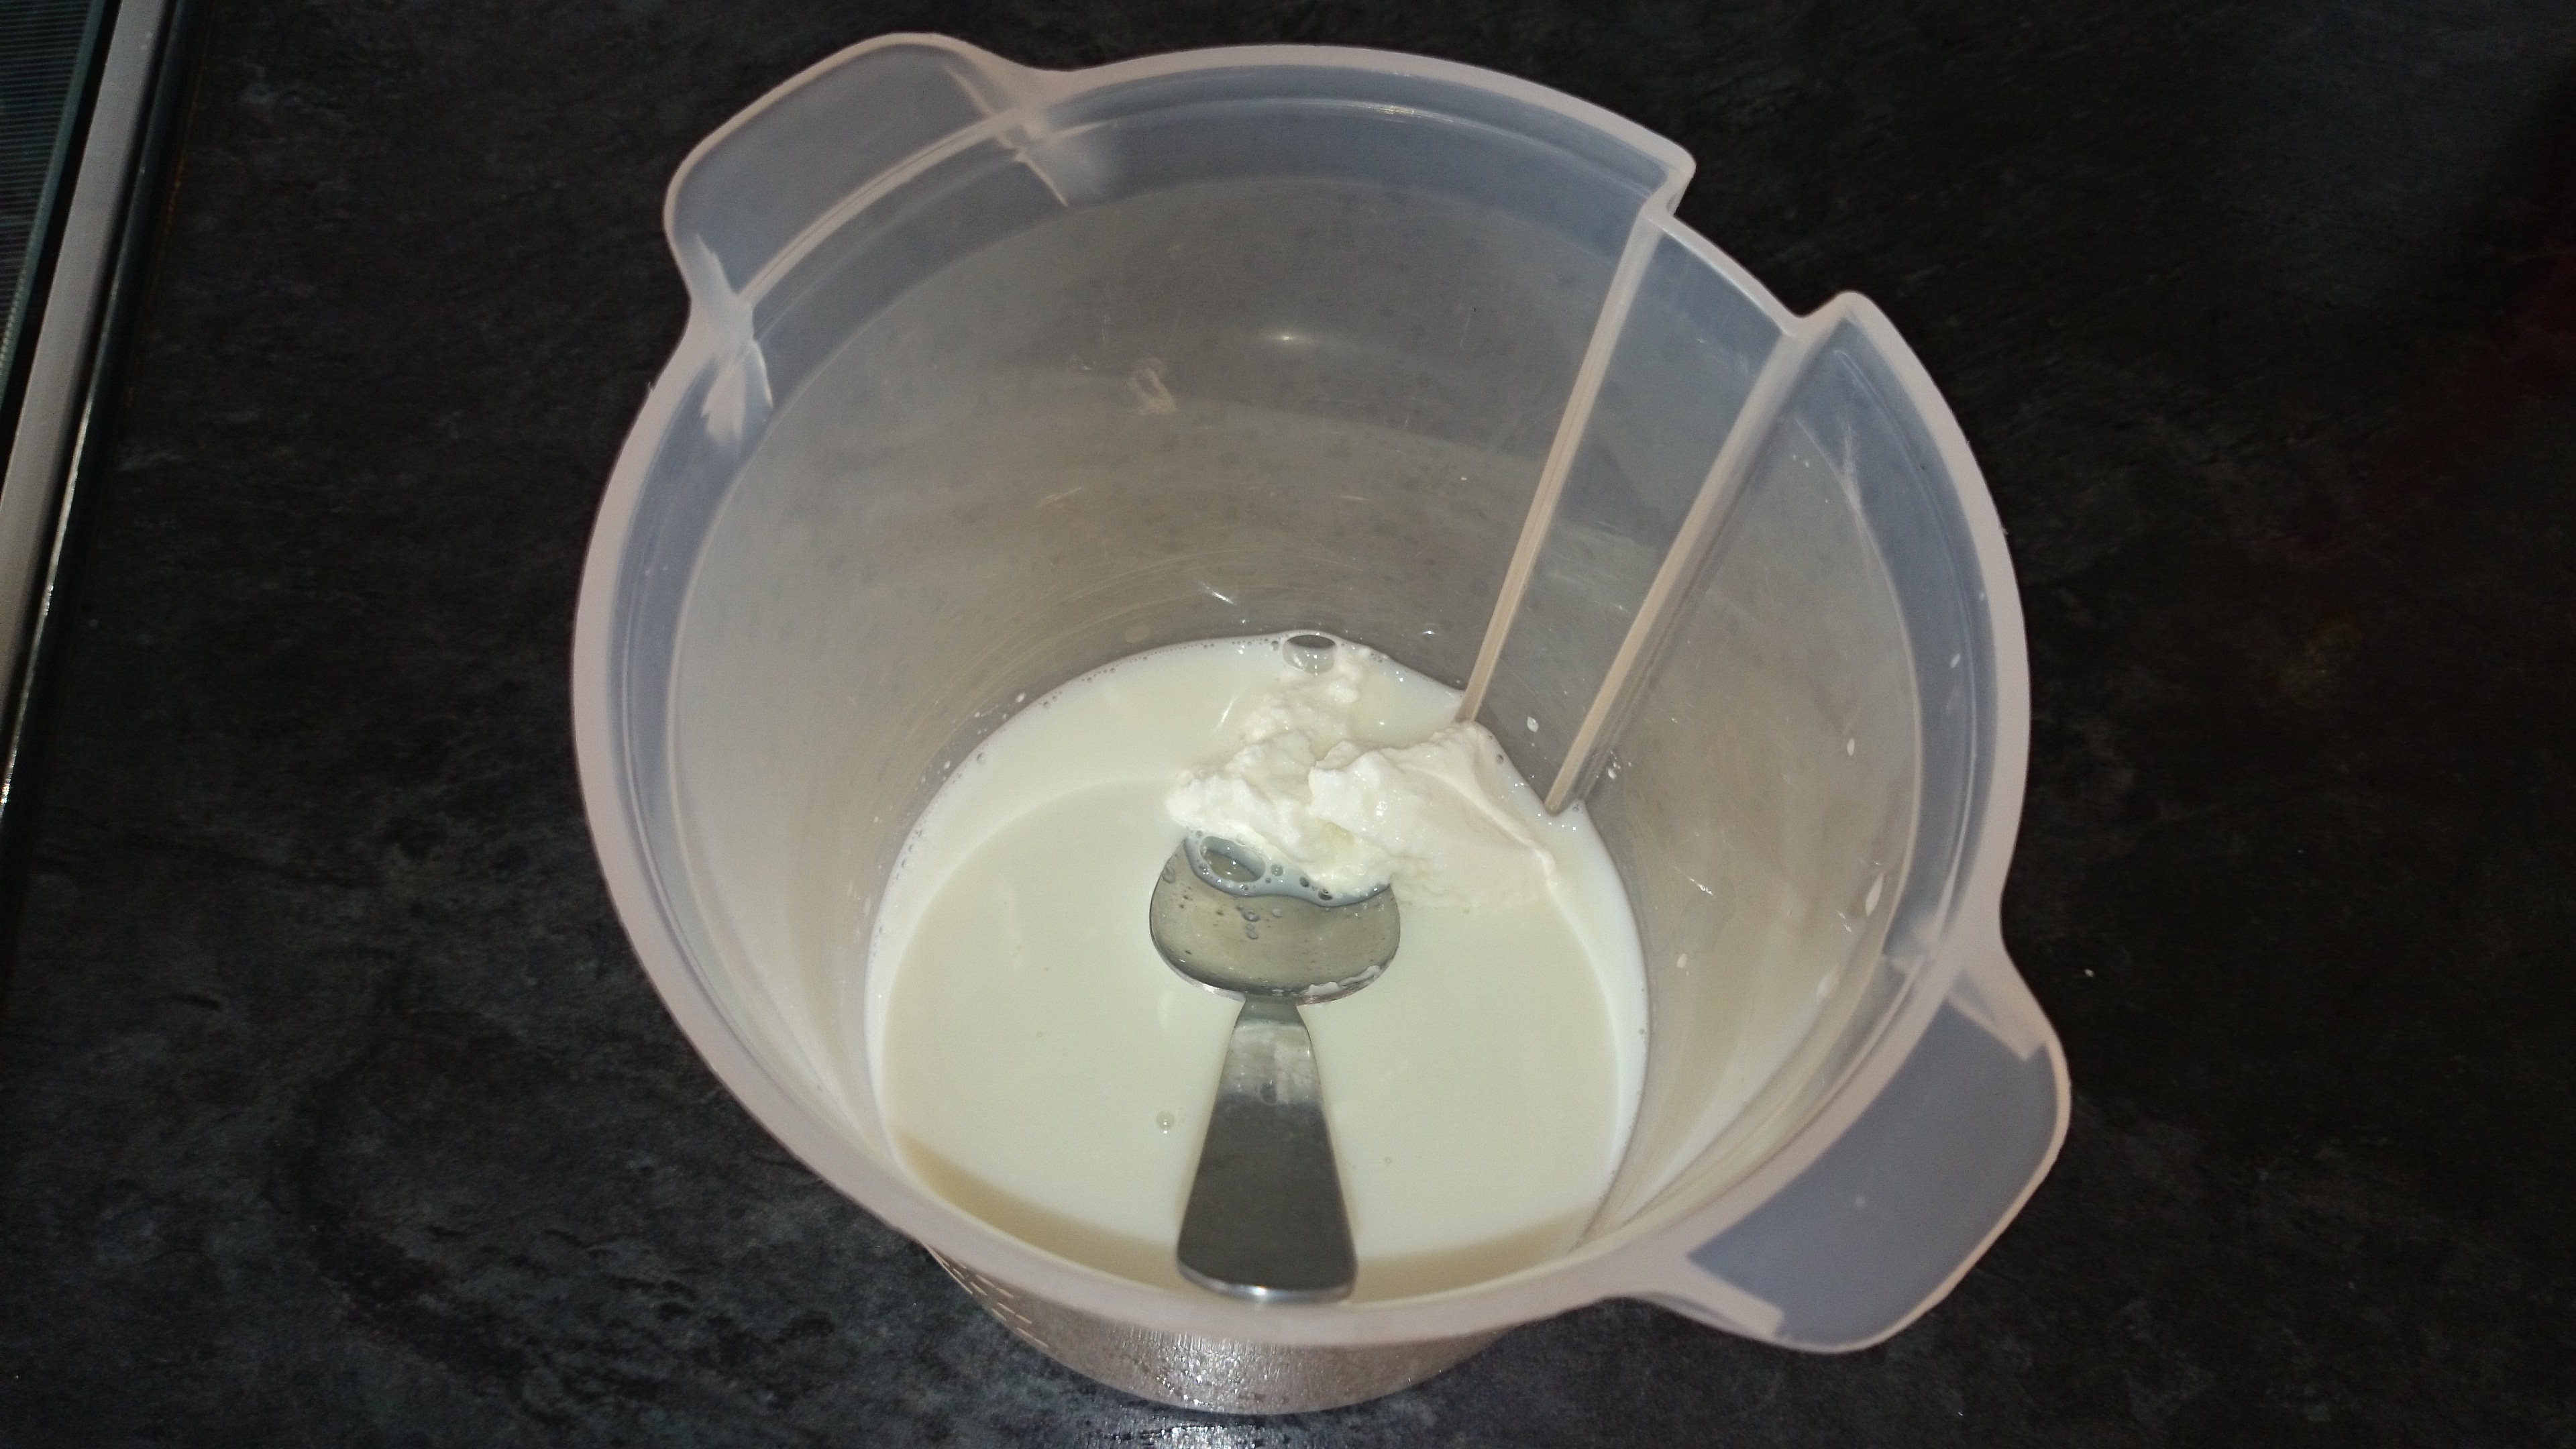
3. When you have a smooth(ish) paste/liquid add the rest of the milk and stir to ensure the starter is fully mixed with the milk.
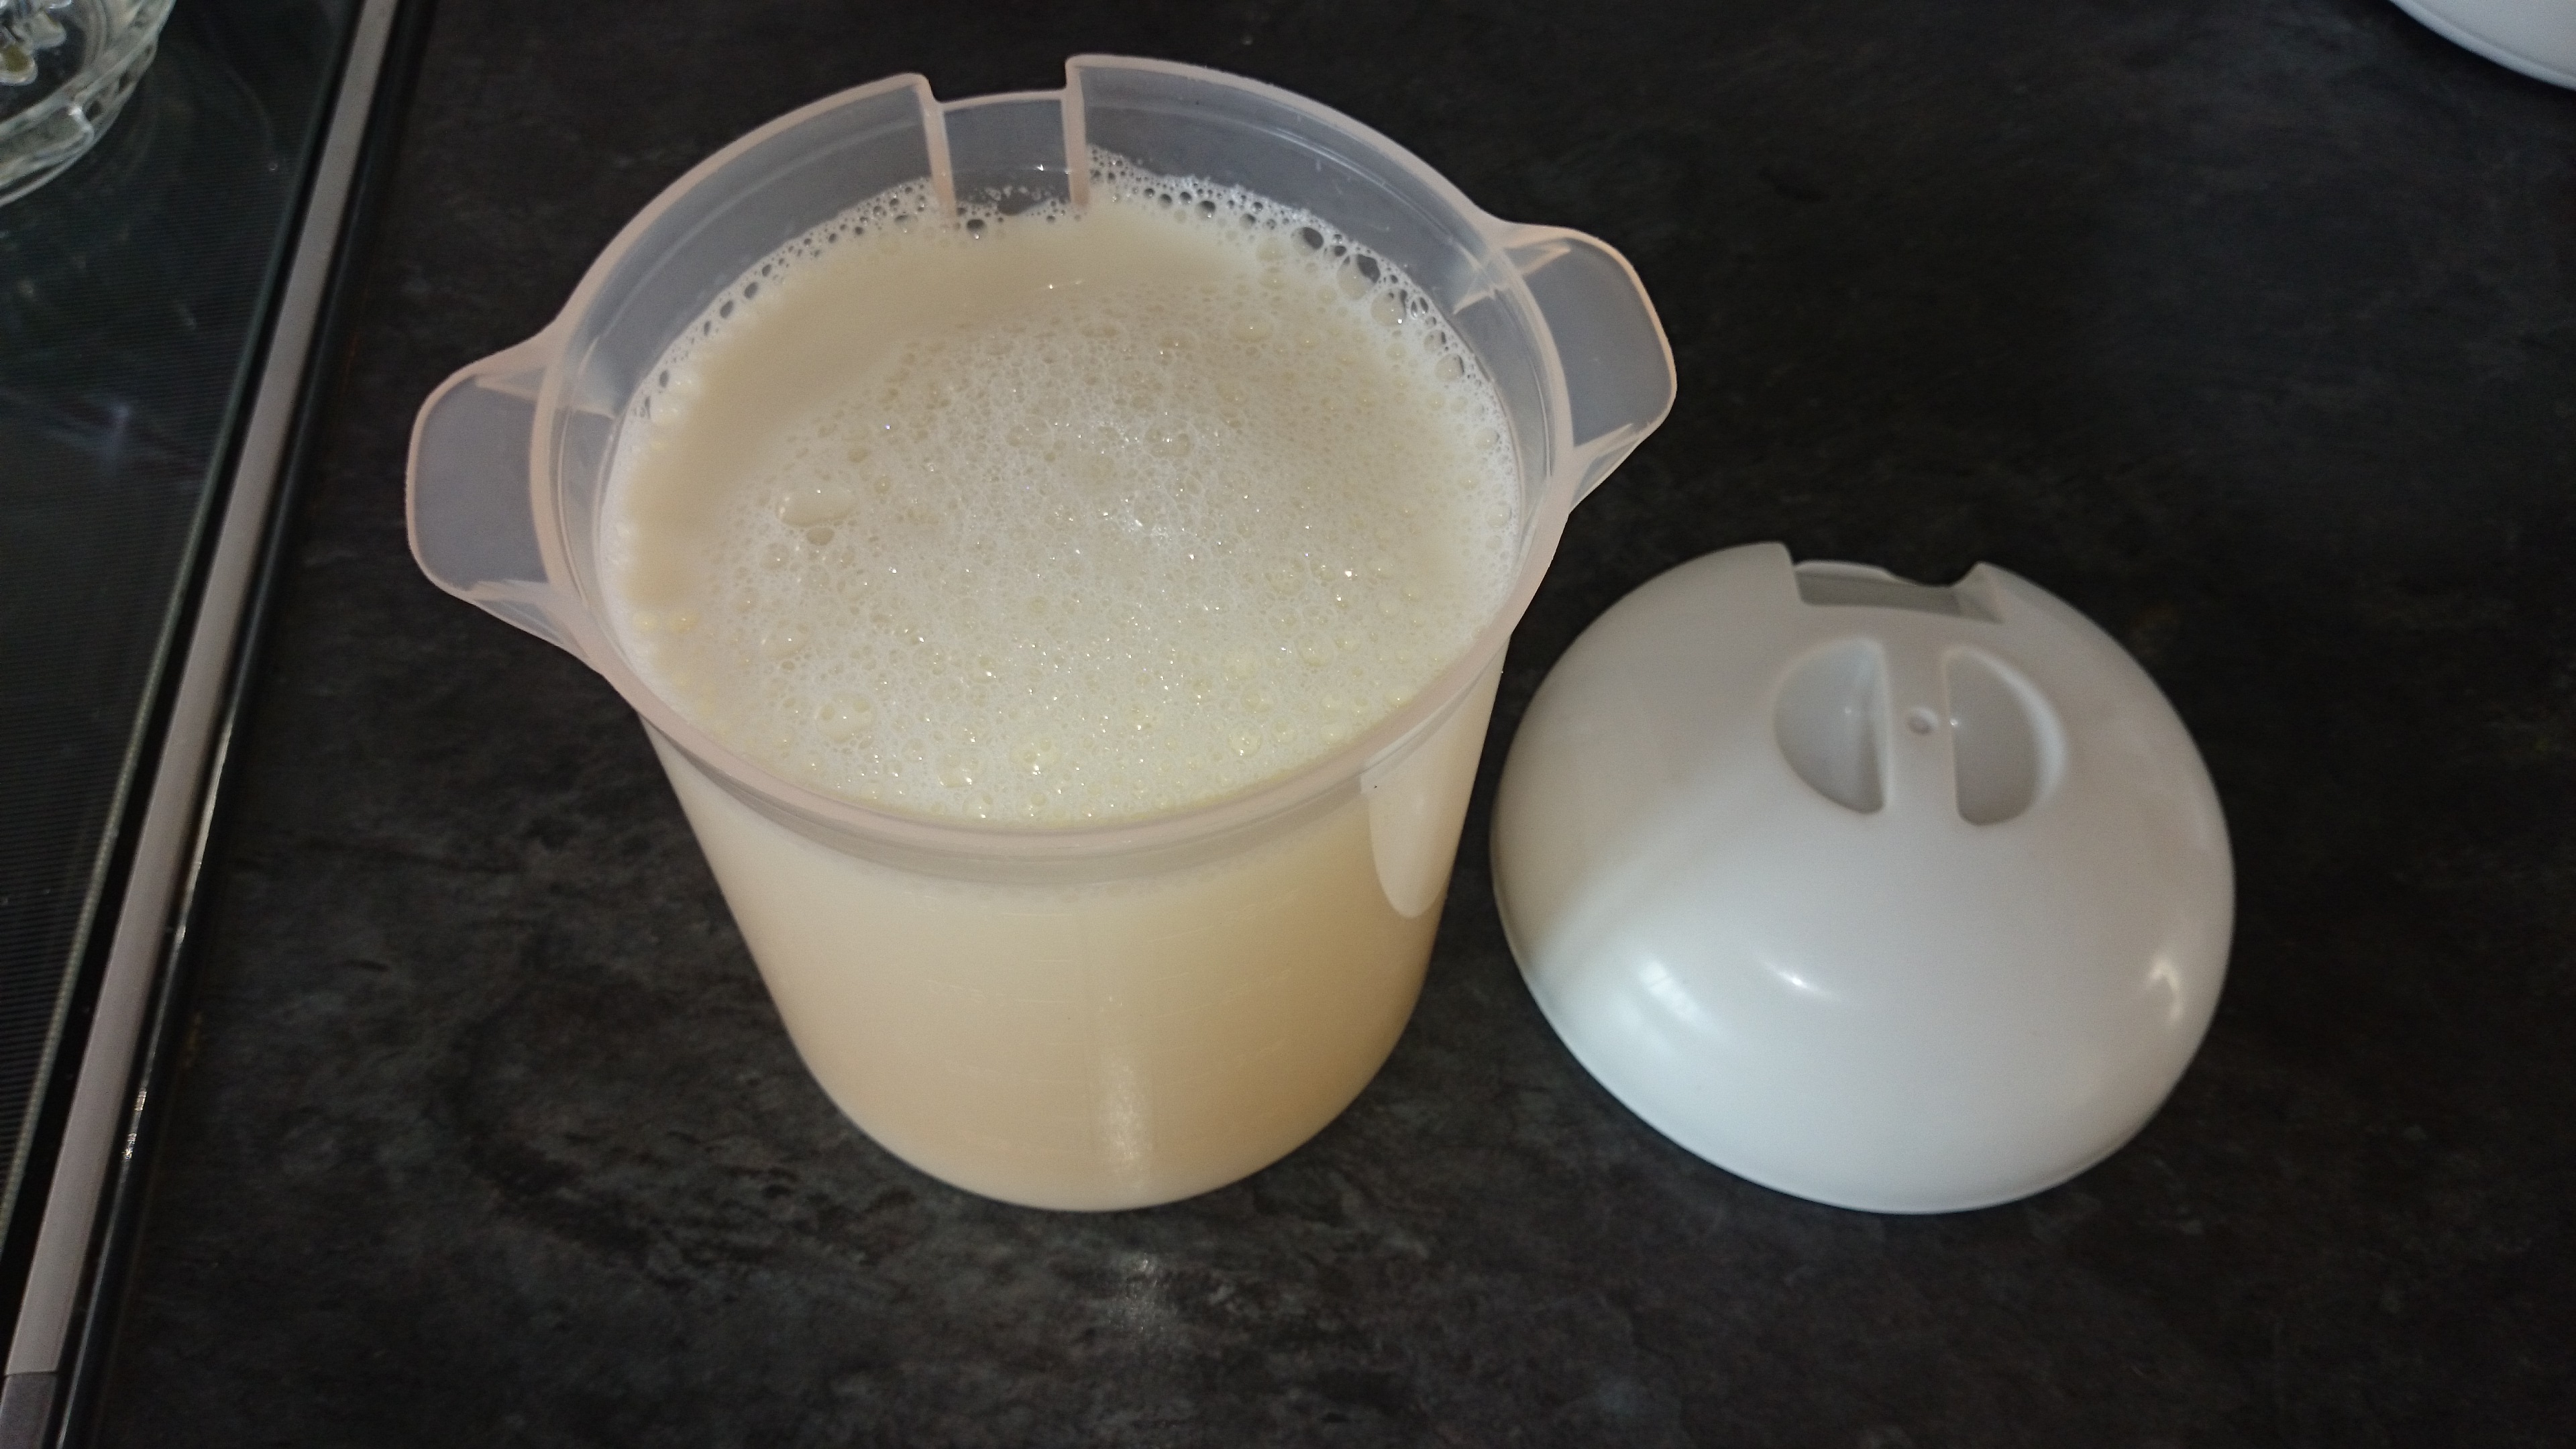
4. Put the lid on, and put the container in the yogurt maker. Make sure you switch it on, then leave it for 24 hours.
5. After 24 hours remove the container of yogurt from the yogurt maker and place in the fridge to cool for several hours. Be careful at this stage, do not stir or shake the container, as this will affect how the yogurt sets.
6. I generally find some liquid on top of the yogurt (this is apparently the water of hydrolysis which forms when the culture splits lactose which yields two monosaccharides and H2O). I just carefully tip the water down the sink. Sometimes my kids just mix it back into the yogurt which is also fine, it just makes for a runnier yogurt. The amount of liquid varies from batch to batch, the amount in the pictures below is on the high side.
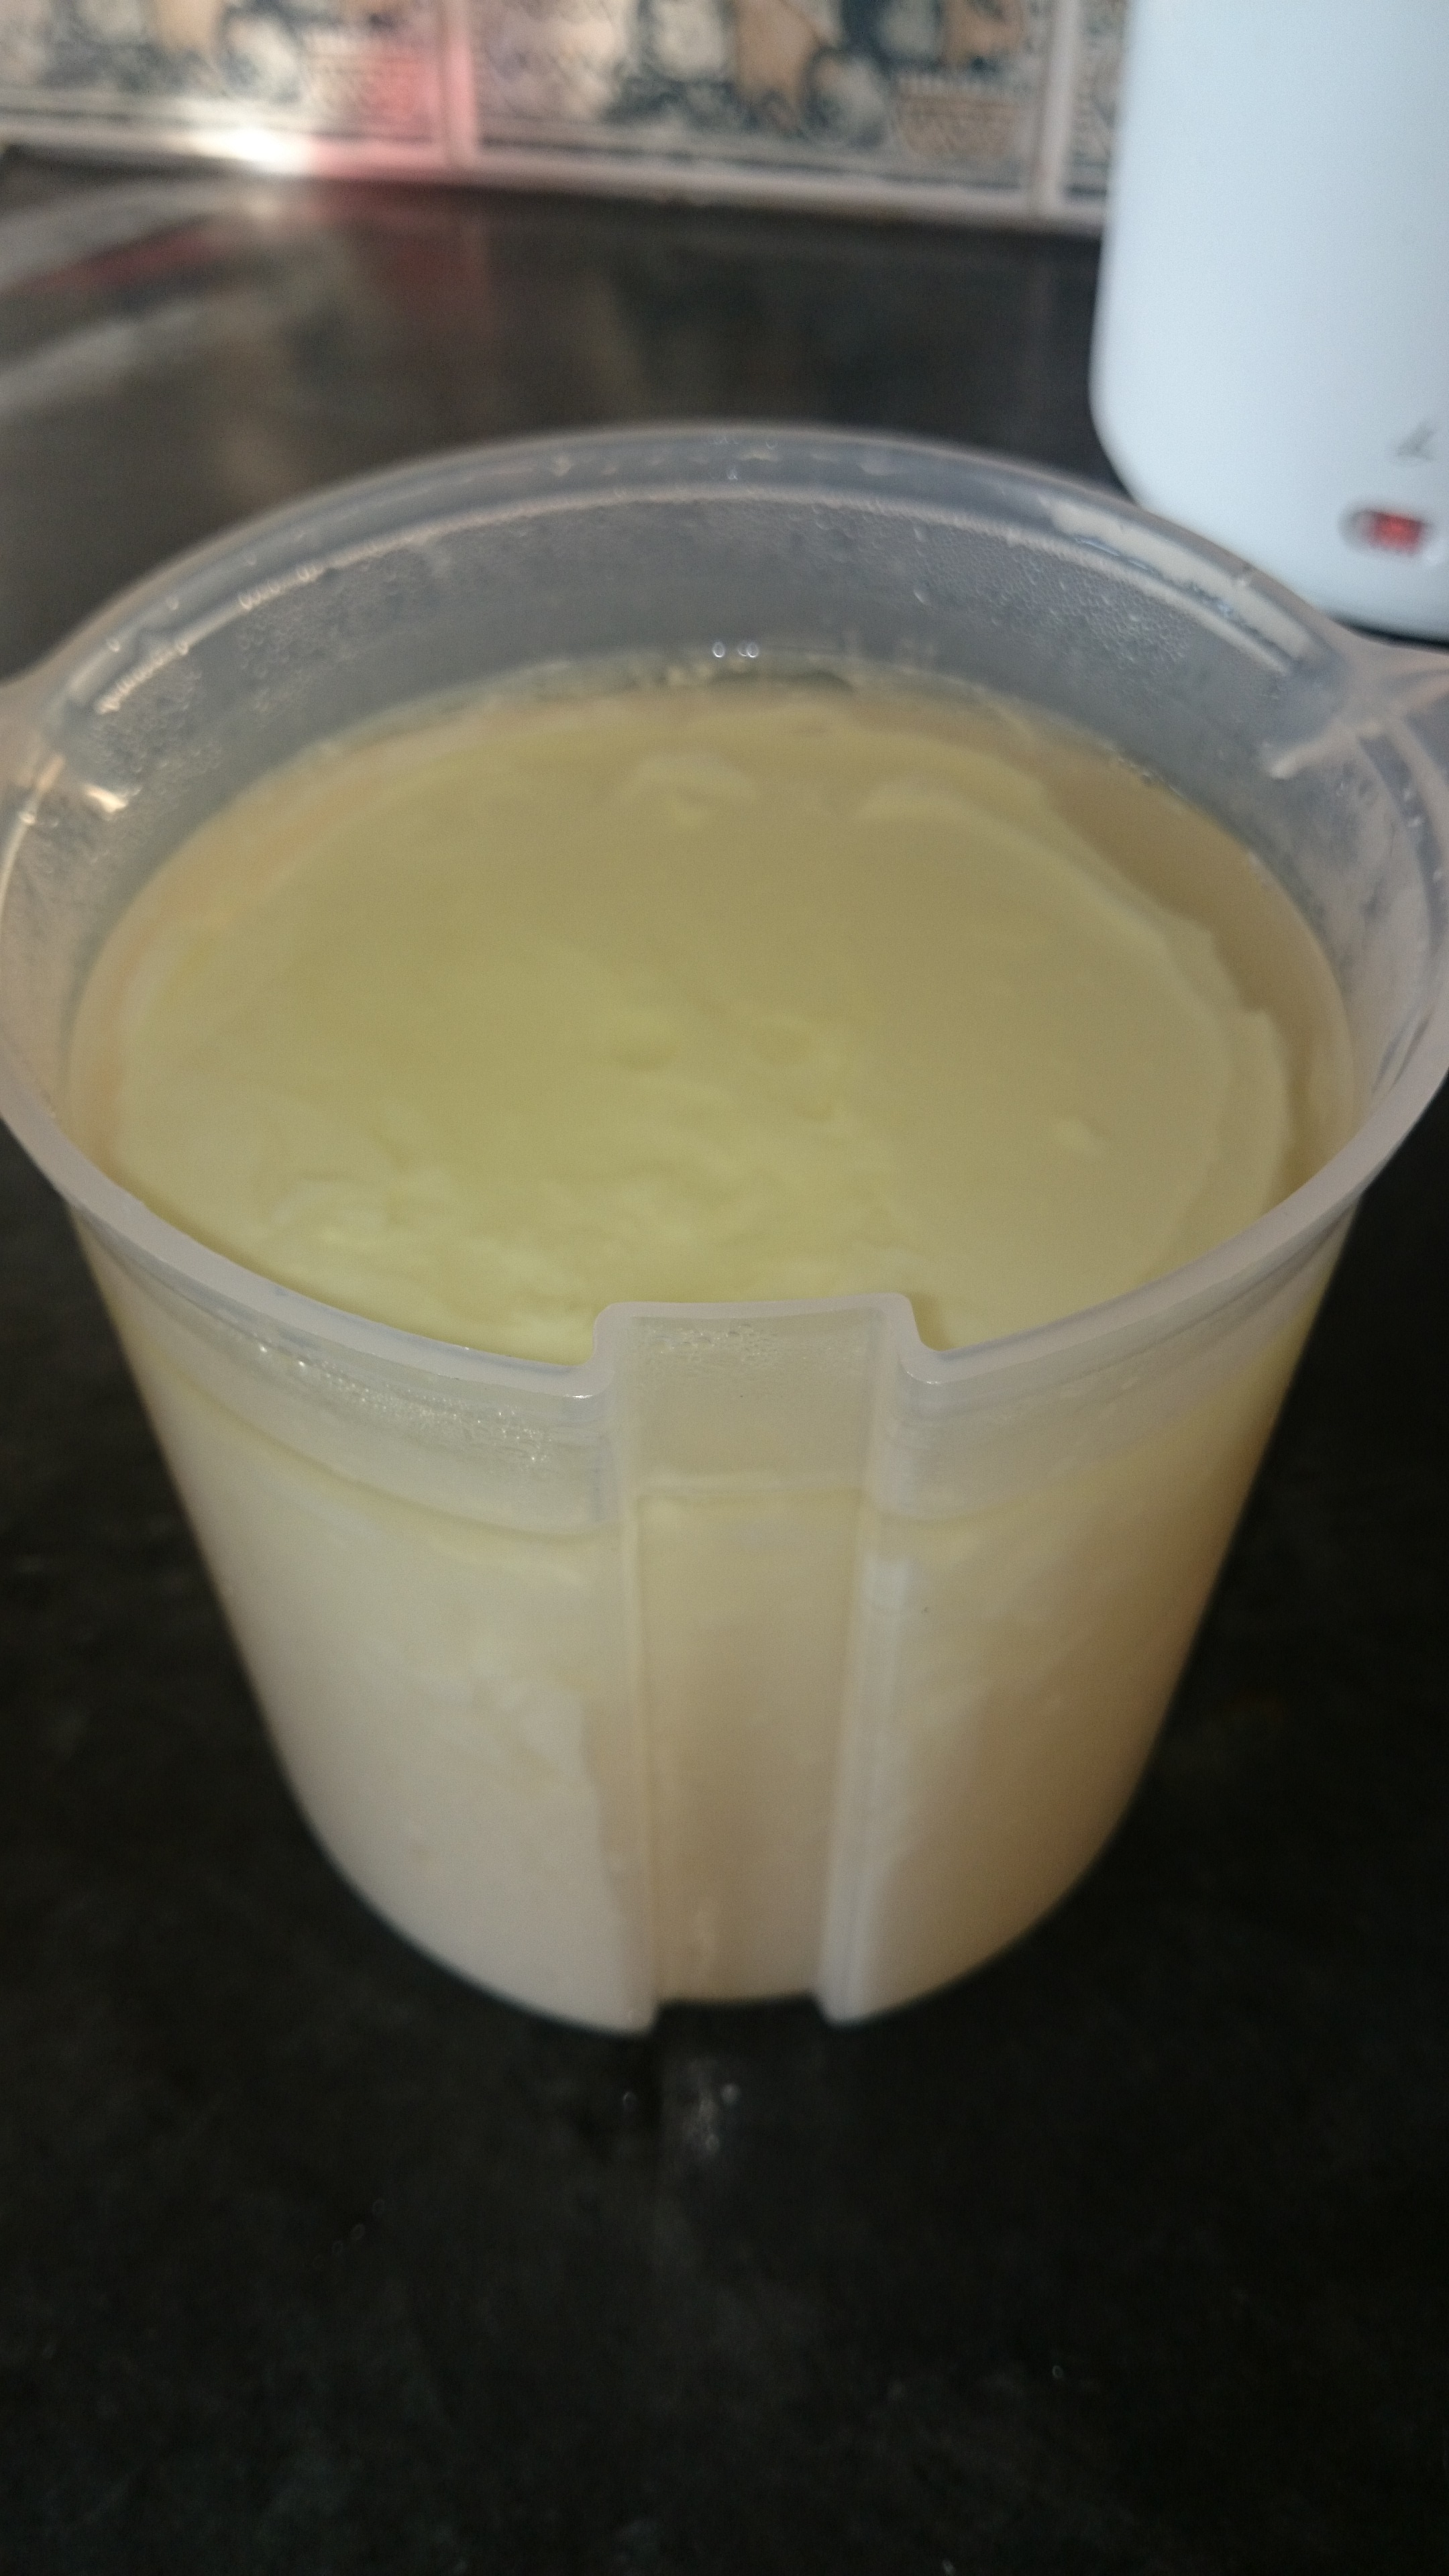
Liquid on top of homemade yogurt
7. Enjoy eating your yogurt, knowing that it is filling your gut with beneficial bacteria. In our house it is often served with a spoonful of honey, jam or lemon curd, or some chopped fruit and nuts, or added to smoothies. Between the five of us we get through a litre most days, so my yogurt maker is on nearly continuously.
Pingback: Fermented Foods | Eat 4 ME