
 I’ve been experimenting with various fermented foods over the last few months, and I’ve decided it’s time to share my results.
I’ve already written about my homemade yogurt and kombucha, which are both fermented foods. This post focuses on my experiments fermenting vegetables.
There is a lot of science involved in the fermentation process, and, for me, some understanding of that was important to success. I wrote a post called Cabbage Juice Stinks after my first unsuccessful experiment with fermenting cabbage. I still shudder at the memory of that smell, and it put me off fermenting vegetables for a good while. However, I continued to read about the benefits of fermentation, and plenty of food/health bloggers extol the virtues of foods like sauerkraut and kim chi.
I tried making sauerkraut following this recipe . I was unsure about a recipe that called for me to scrape the mould off the surface of the ferment. Further reading validated my doubts.
scraping off the mold leaves it’s roots behind, and ingesting this can end up causing problems in the long run. Nourishing Traditions
Apart from the mould, the other problem with this batch of sauerkraut was that it was so salty it was inedible – another unsuccessful experiment.
When I came across this fabulous set of articles testing fermentation vessels and read the detailed information about fermentation by Lea Harris of Nourishing Traditions, I understood where I’d gone wrong in my previous attempts : not keeping out oxygen. This gave me the confidence to try fermenting again. First I bought a Kilner Jar (known as Fido Jar in the US and in the Nourishing Traditions articles). This would allow me to keep the oxygen out of my ferment, and hopefully lead to success. When it came time to set up my ferment I decided on Kim Chi. I happened to have a red cabbage on hand and this led me to a recipe by Garden Betty.
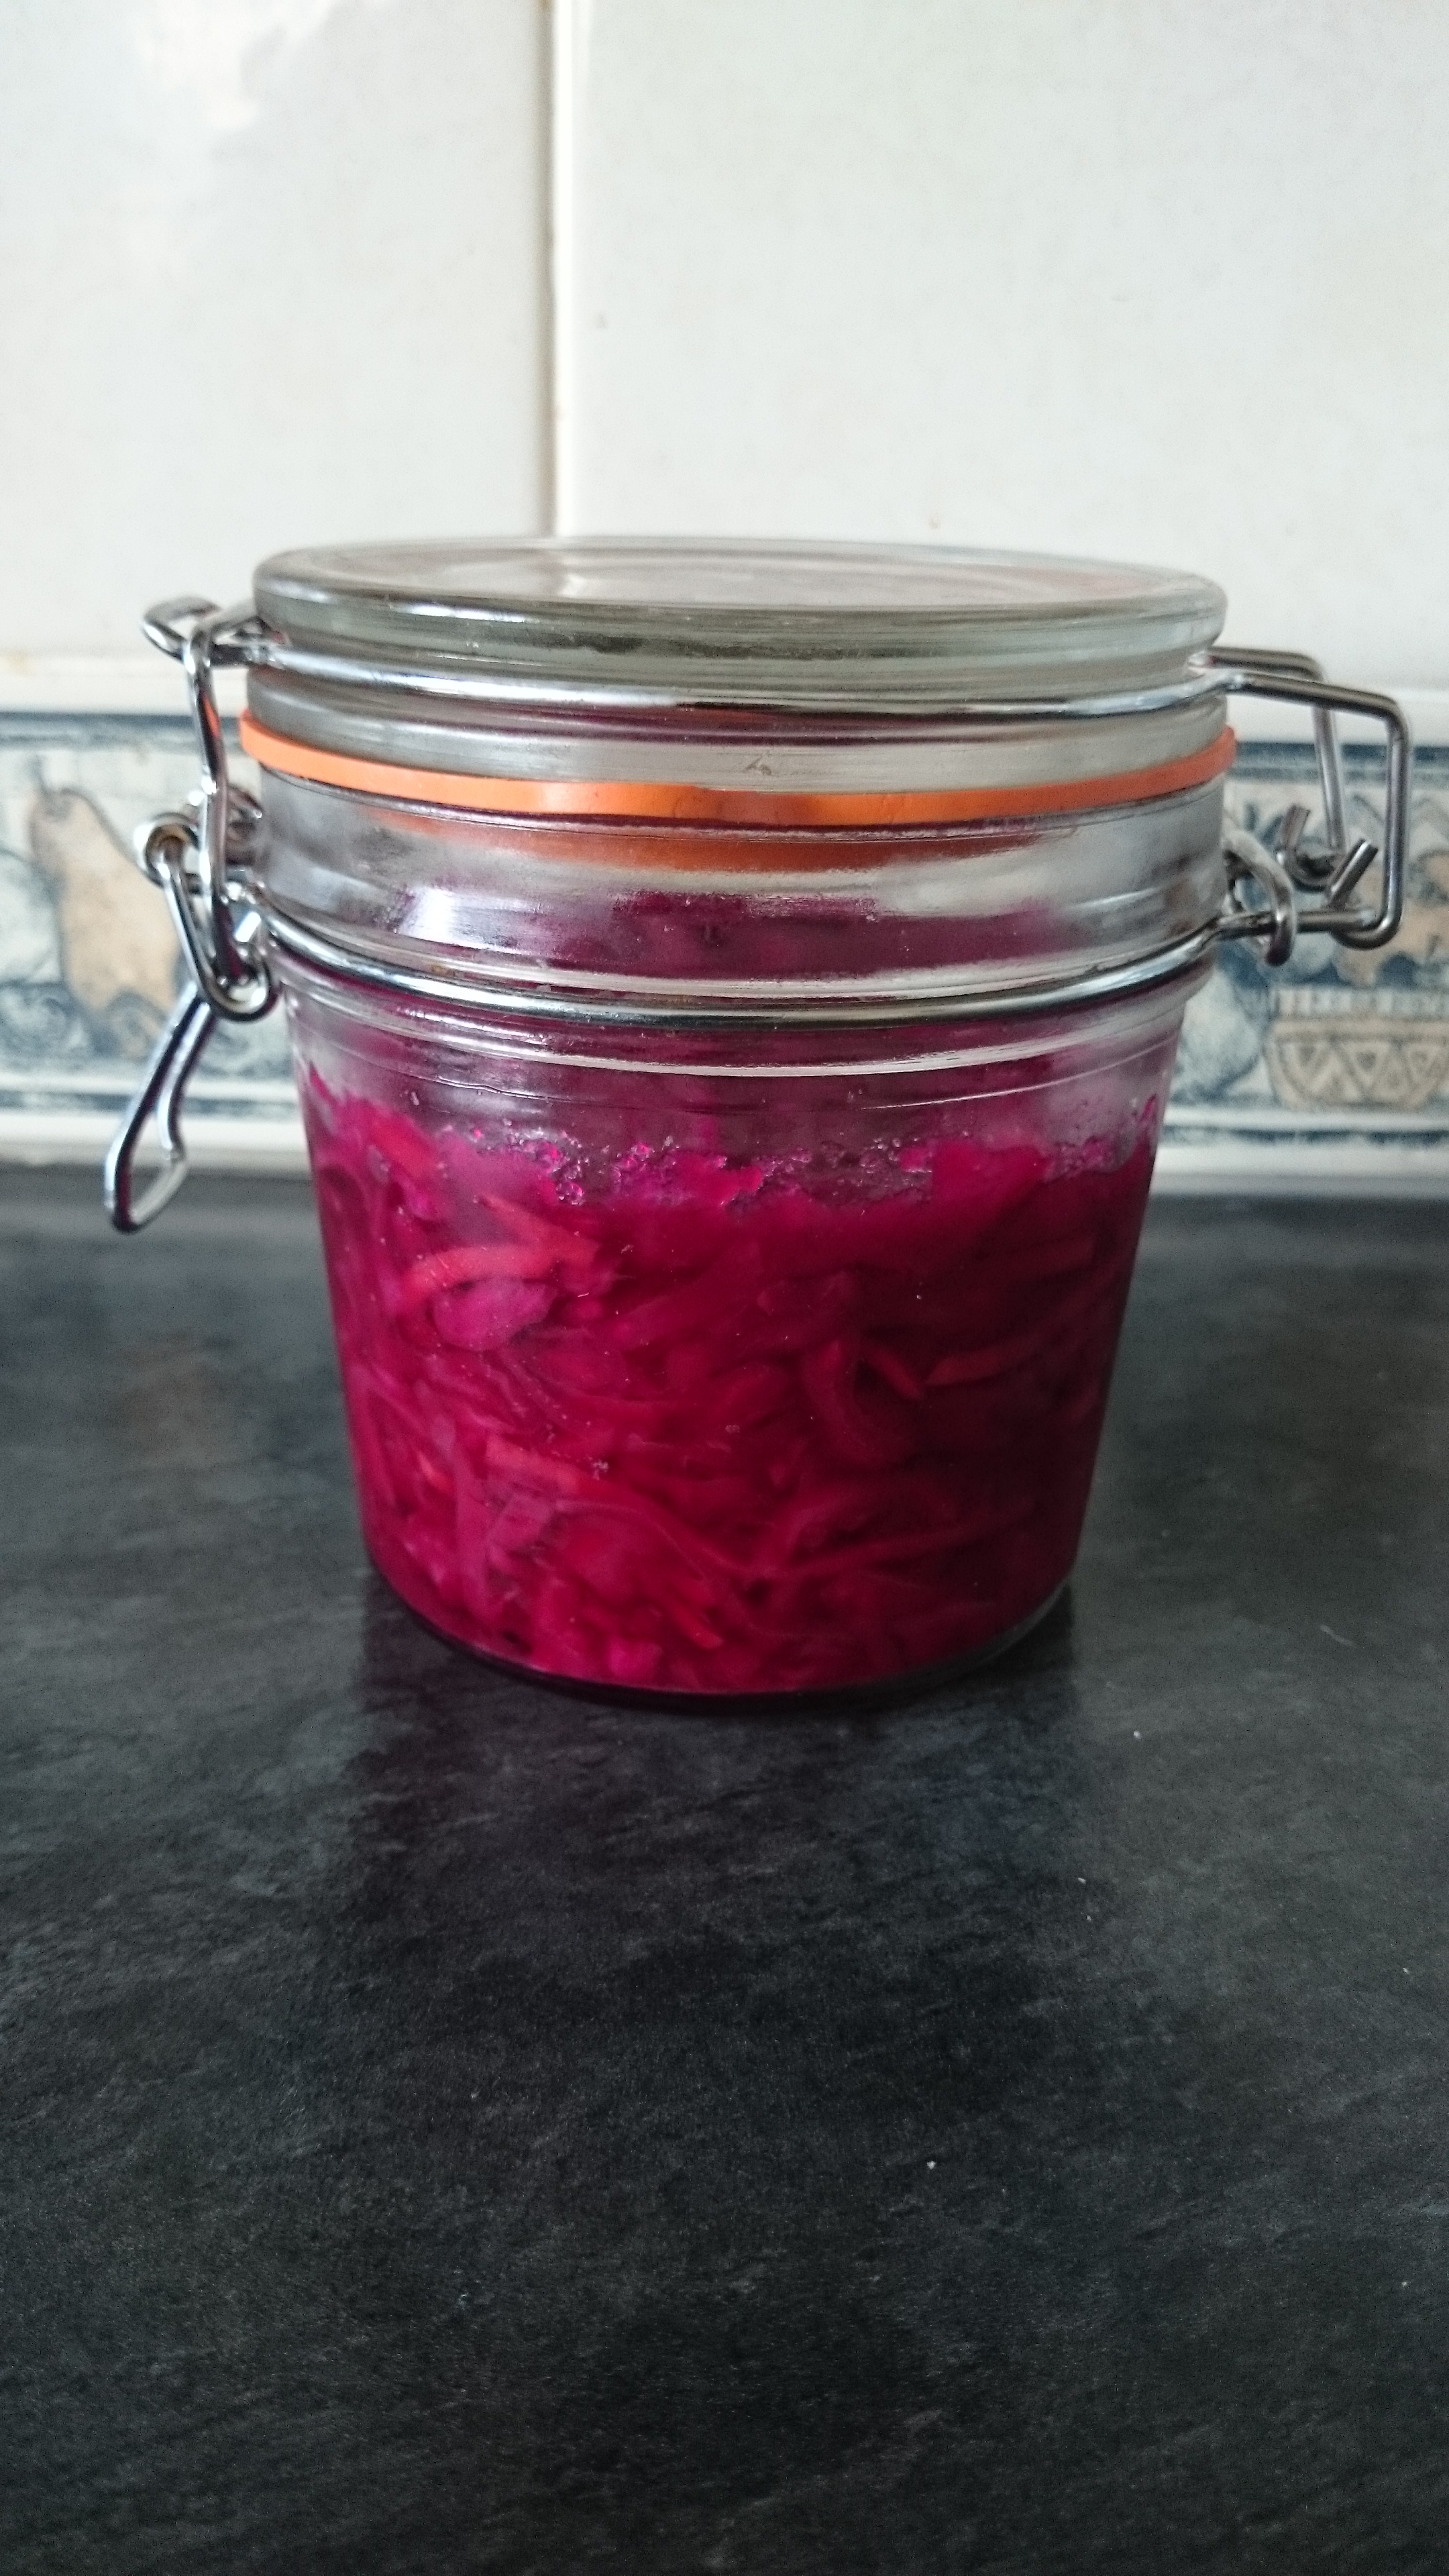
The results from this have been a success. I adapted the recipe, by leaving out the red pepper powder and daikon because I didn’t have any and I had no idea where to buy any. I’m happy to say the other flavours in the recipe led to a tasty jar of fermented vegetables that my husband and I add to our plates regularly. The kids turn their noses up at it, and complain about the smell, so I mainly eat it at lunch time when they are at school. It’s a great low effort way to add additional vegetables to my meal.
Red Cabbage Kimchi (Adapted from Garden Betty’s recipe)
Makes 3 quarts
Ingredients
2 pounds red cabbage, chopped
1/4 cup salt (I use sea salt)
1/2 pound carrot, julienned
6 spring onions, sliced into 1-inch segments
4 cloves garlic, minced
1-inch piece fresh ginger, peeled and minced
1 small pear or apple, peeled, cored and chopped
1 small yellow onion, chopped
dechlorinated water – amount varies
2 tablespoons fish sauce
Method
- Chop the cabbage into thin, bite sized pieces (I use my food processor for this)
- In a large bowl, massage the salt into the cabbage until the leaves start to release liquid.
- Cover with water and let the cabbage sit at room temperature for at least two hours while the salt draws out moisture. Periodically toss the cabbage and work your hands through the leaves to expel more moisture.
- After about two hours, the cabbage should be soft and limp, and the volume reduced in half. (If yours is still firm and full, come back to it after another hour or two.) Strain the cabbage and rinse under running water to remove excess salt. Strain again, then return the cabbage to the bowl. Add carrot, green onions, garlic, and ginger.
- In a blender, combine the pear (or apple, if using), yellow onion, water, and fish sauce, and give everything a whirl until smooth. Pour the sauce over the vegetables.
- Put on some gloves (the sauce can be pretty spicy and smelly to work with!) and give the kimchi a good rubdown, making sure the veggies are well combined and coated with sauce.
- Pack the kimchi into kilner jars, leaving 1 to 2 inches of headspace. The veggies will expand and release more liquid as they ferment, so you don’t want to overfill the jars. Tamp down the veggies with the back of a spoon to fully submerge them. I found that there was enough liquid in the jars to keep them submerged, and since the liquid is more of a paste, the veggies don’t float to the top as in other ferments.
- Wipe the rims clean, then seal the jars and let ferment at room temperature, out of direct sunlight, for at least about 2 weeks. (It wouldn’t be a bad idea to place the jars in a shallow baking dish to catch any overflow of liquid.)Every day, press down on the veggies with a spoon to expel more liquid and make sure everything is shipshape. A proper ferment should have no mold and no off smell.